Exploding Breakfast Sandwiches! An Easy and Exciting Breakfast for Little Kids
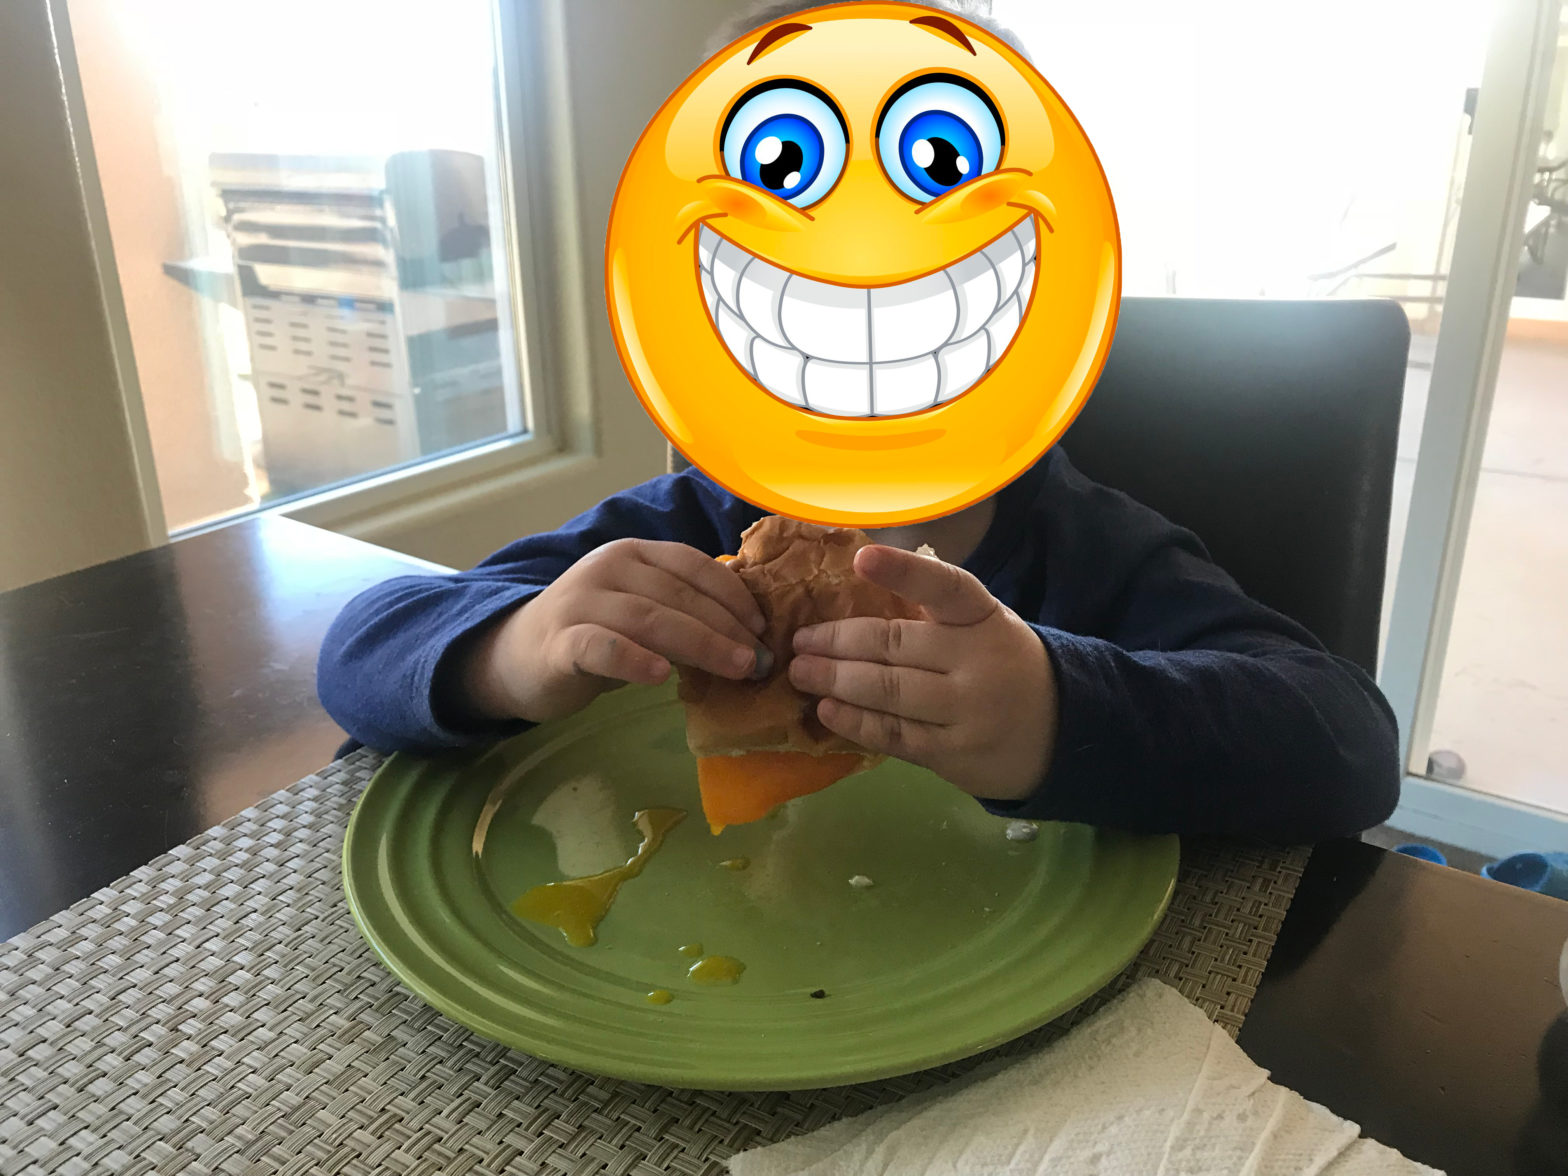
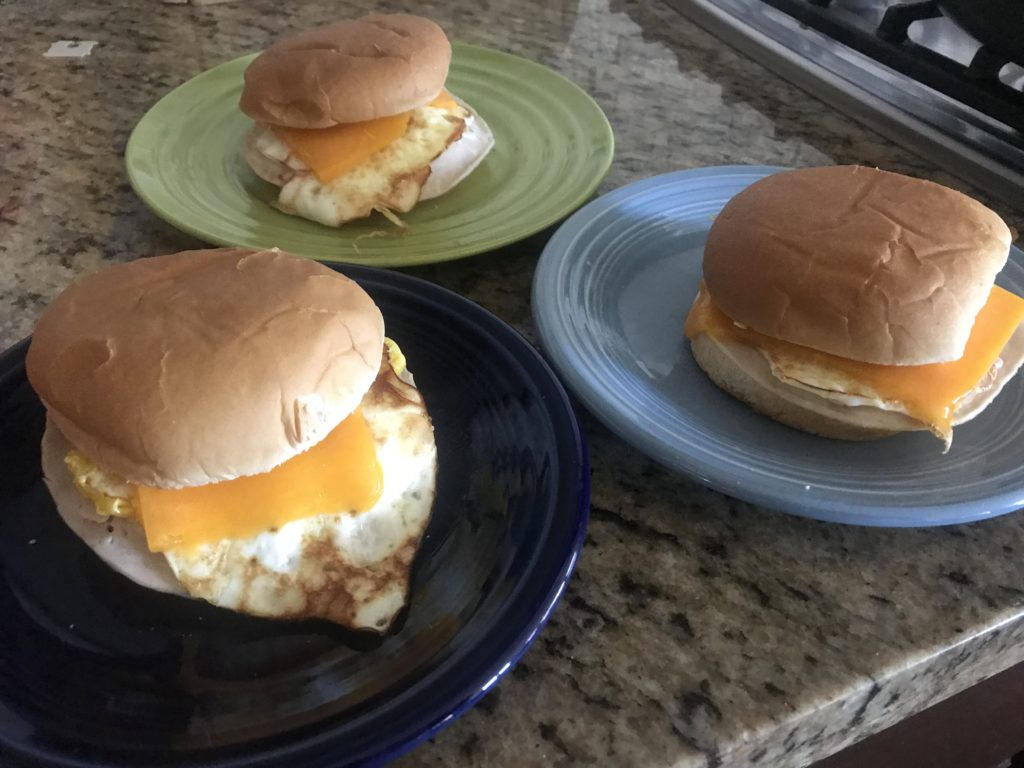
A while back, my infinitely creative wife culled up what turned out to be an exciting, very fun and super easy breakfast idea for our five-year-old son.
An unofficial culinary wizard (by that I mean she binge-watches cooking contest shows entire seasons at a clip while studying and learning from them), but incredibly busy building her non-profit organization, it's always a treat when she has the time to fashion a meal.
On this red-letter date in child-rearing breakfast history, she made something fairly simple, but which turned out to be one of the most impactful changes she'd make on our recent morning routine. She simply cooked up an over easy egg, put a piece of ham and a piece of cheese on it, and served it on a bun to our son for his morning fare.
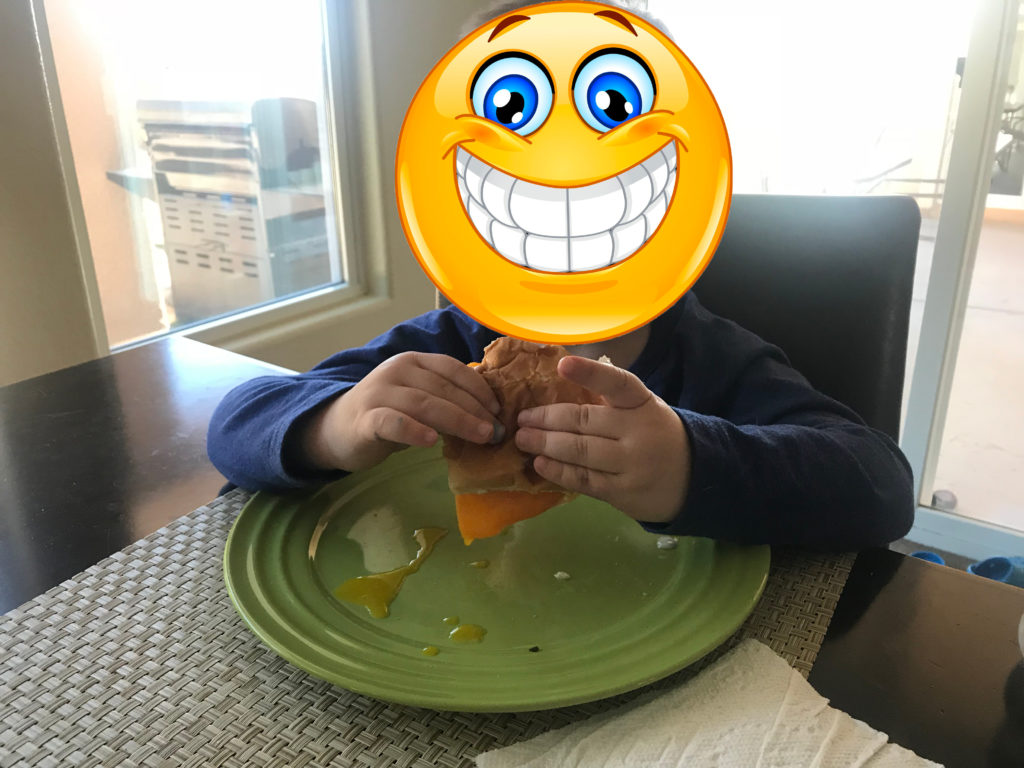
Now this easy breakfast is simple and doesn't seem that exciting on the surface, but it's packed with excitement! When our son bit into the egg and the yolk came spattering out (mostly dripping out, really), he screamed, "It exploded!"
And that was that. We now have "exploding sandwiches" for breakfast at least once a week (usually to celebrate our son's good behavior the day prior).
We've had multiple adult friends and family over and made my wife's breakfast creation for them. They always leave excited to make "exploding sandwiches" for someone else - especially the grandparents.
So with this blog post, I bestow on to any wandering reader that may come upon it, the magical recipe for an exciting breakfast moment - when your child receives the gift of surprise and excitement after biting into an EXPLODING SANDWICH!
Now along with anything my wife makes, which I have the ability to replicate, I do so, over and over.... and over and over... and over and over... until I figure out an efficient process. Here is my step-by-step recipe for eggy breakfast sandwich fun:
Exploding Egg Sandwich Ingredients:
- Eggs
- Sliced Ham (or Turkey)
- Sliced Cheese
- Hamburger Buns
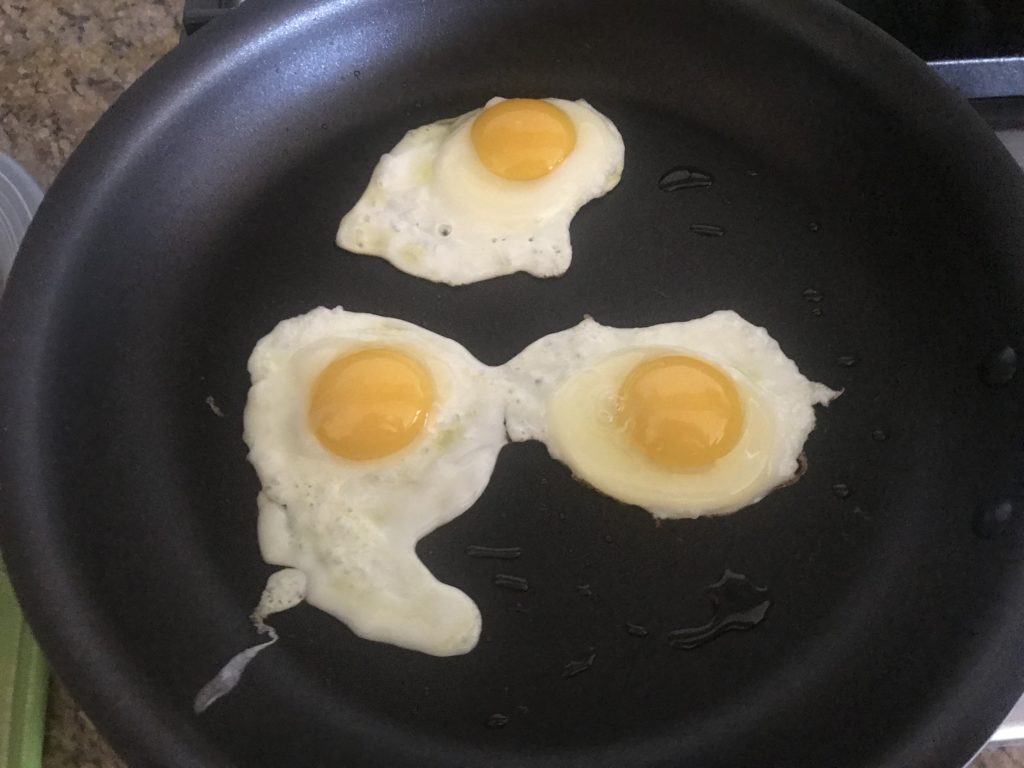
Step 1: Fry eggs
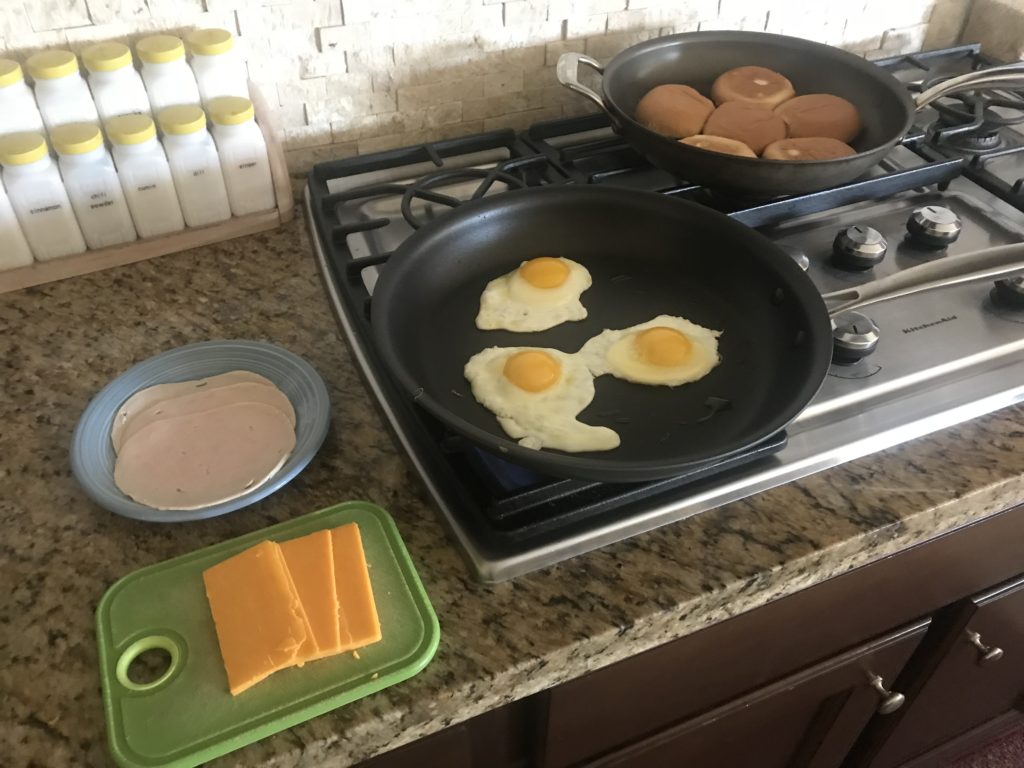
Fry up some eggs - sunny-side-up style. I cook them until the eggs are congealed enough to be flipped - usually just before the last of the clear egg turns toward white on top (in the picture below, the egg on the top is about ready to be flipped. That one on the bottom right needs to cook a little longer). Feel free to add a little salt & pepper on top.
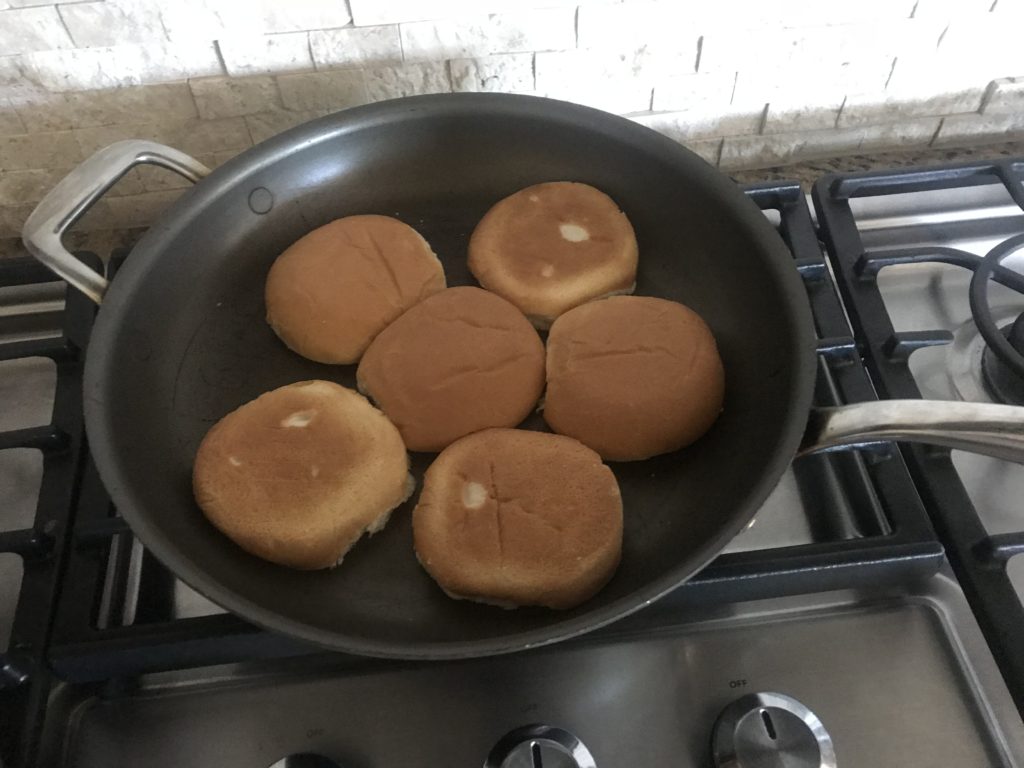
Step 2: Toast Buns (separate pan)
You can make this step 1 if you don't readily have 2 pans available.
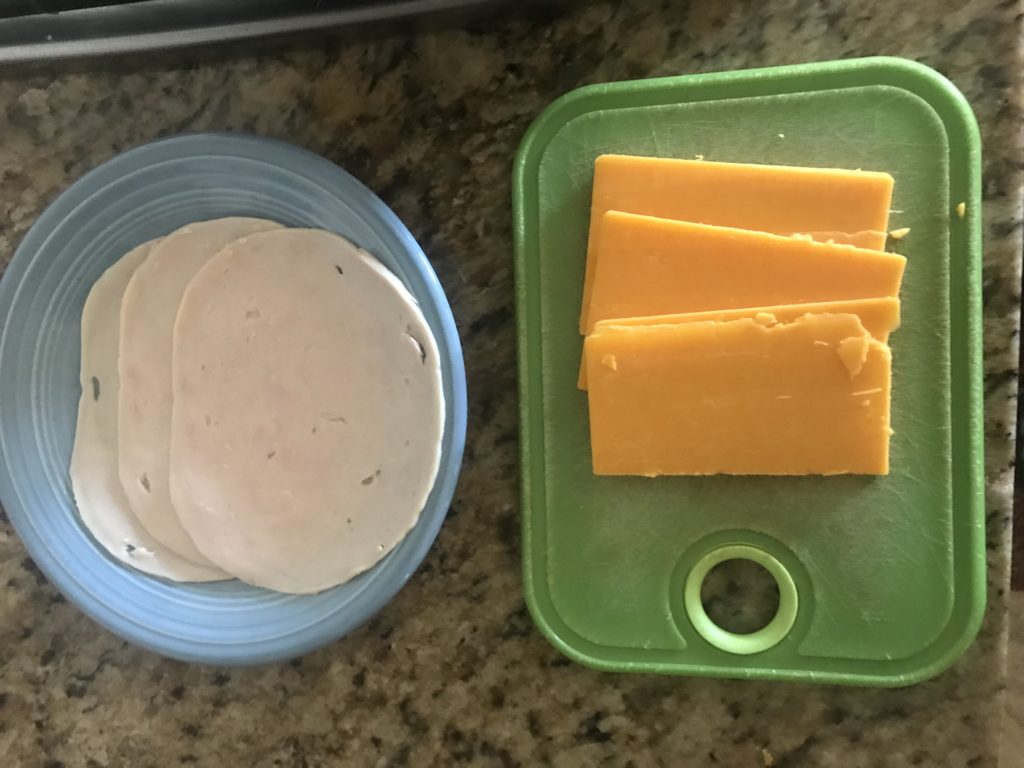
Step 3: Prepare Sliced Ham (or Turkey) and Cheese
Get your sliced ham/turkey and cheese ready for the next step.
Status Check:
Here is where you should be in the cooking / preparation process.
Step 4: Flip the Eggs onto Ham (or Turkey) Slices
Position your eggs to one side and make room to put down a slice of meat. Then flip one egg over onto the meat slice. Repeat for the other eggs. Doing this will give the cheese added in the next step a chance to melt without the flipped egg getting overcooked (as the meat protects the egg from the heat).

Step 5: Top with Sliced Cheese
Add the sliced cheese on top of the eggs.

Step 6: Build the Sandwiches
Once the cheese has melted, use a spatula to scoop up the sandwich filling delights and put them on the buns. The timing on this after you make them a couple times is where you'll start to understand how much time you need to cook in the flipped position to keep the eggs from being too runny (and gross) but for enought time to become thick enough to enjoy mopping up the drippings on the plate with the bun as you eat.

Step 7: Serve and Enjoy!
Serve up your creation and watch your child's excitement and anticipation of the big explosion that could happen with any bite! (I would not try to surprise your child; Let your child know its an "exploding sandwich" and that it could "pop" with any bite. Be excited with your child to make each bite fun and full of anticipation!)
Leave a Reply
Recent Posts

Reolink Argus 2 Review: From an Owners Perspective

I Made the World a Little Safer!
A Typical Parenting Moment from the Parent of a Child with FASD

Volunteering

We Were Sent Home From the Hospital with Instructions that Could Have Killed Our Son
After School Programs: Your Child May Not Be As Safe As You Think
FAS - You Wouldn't Say That About My Child If It Was Autism
VicTsing Filterless Cool-Vapor Humidifier Review
Increasing the Life of Your Air Conditioner: How to Install a 'Hard Start' Kit

A/C Hard Start Kit: A $1,600 Per Hour Story