General Preparation & Assembly Guide for an Outdoor Big Backyard Swing Set


This article is part of a series of articles on my experience purchasing and building a swingset from Walmart.com.
PLEASE NOTE: This article is not fully complete. Additional edits, clarifications, pictures, etc still need to be added as I'm able to find time.
Preparation & Assembly Outline
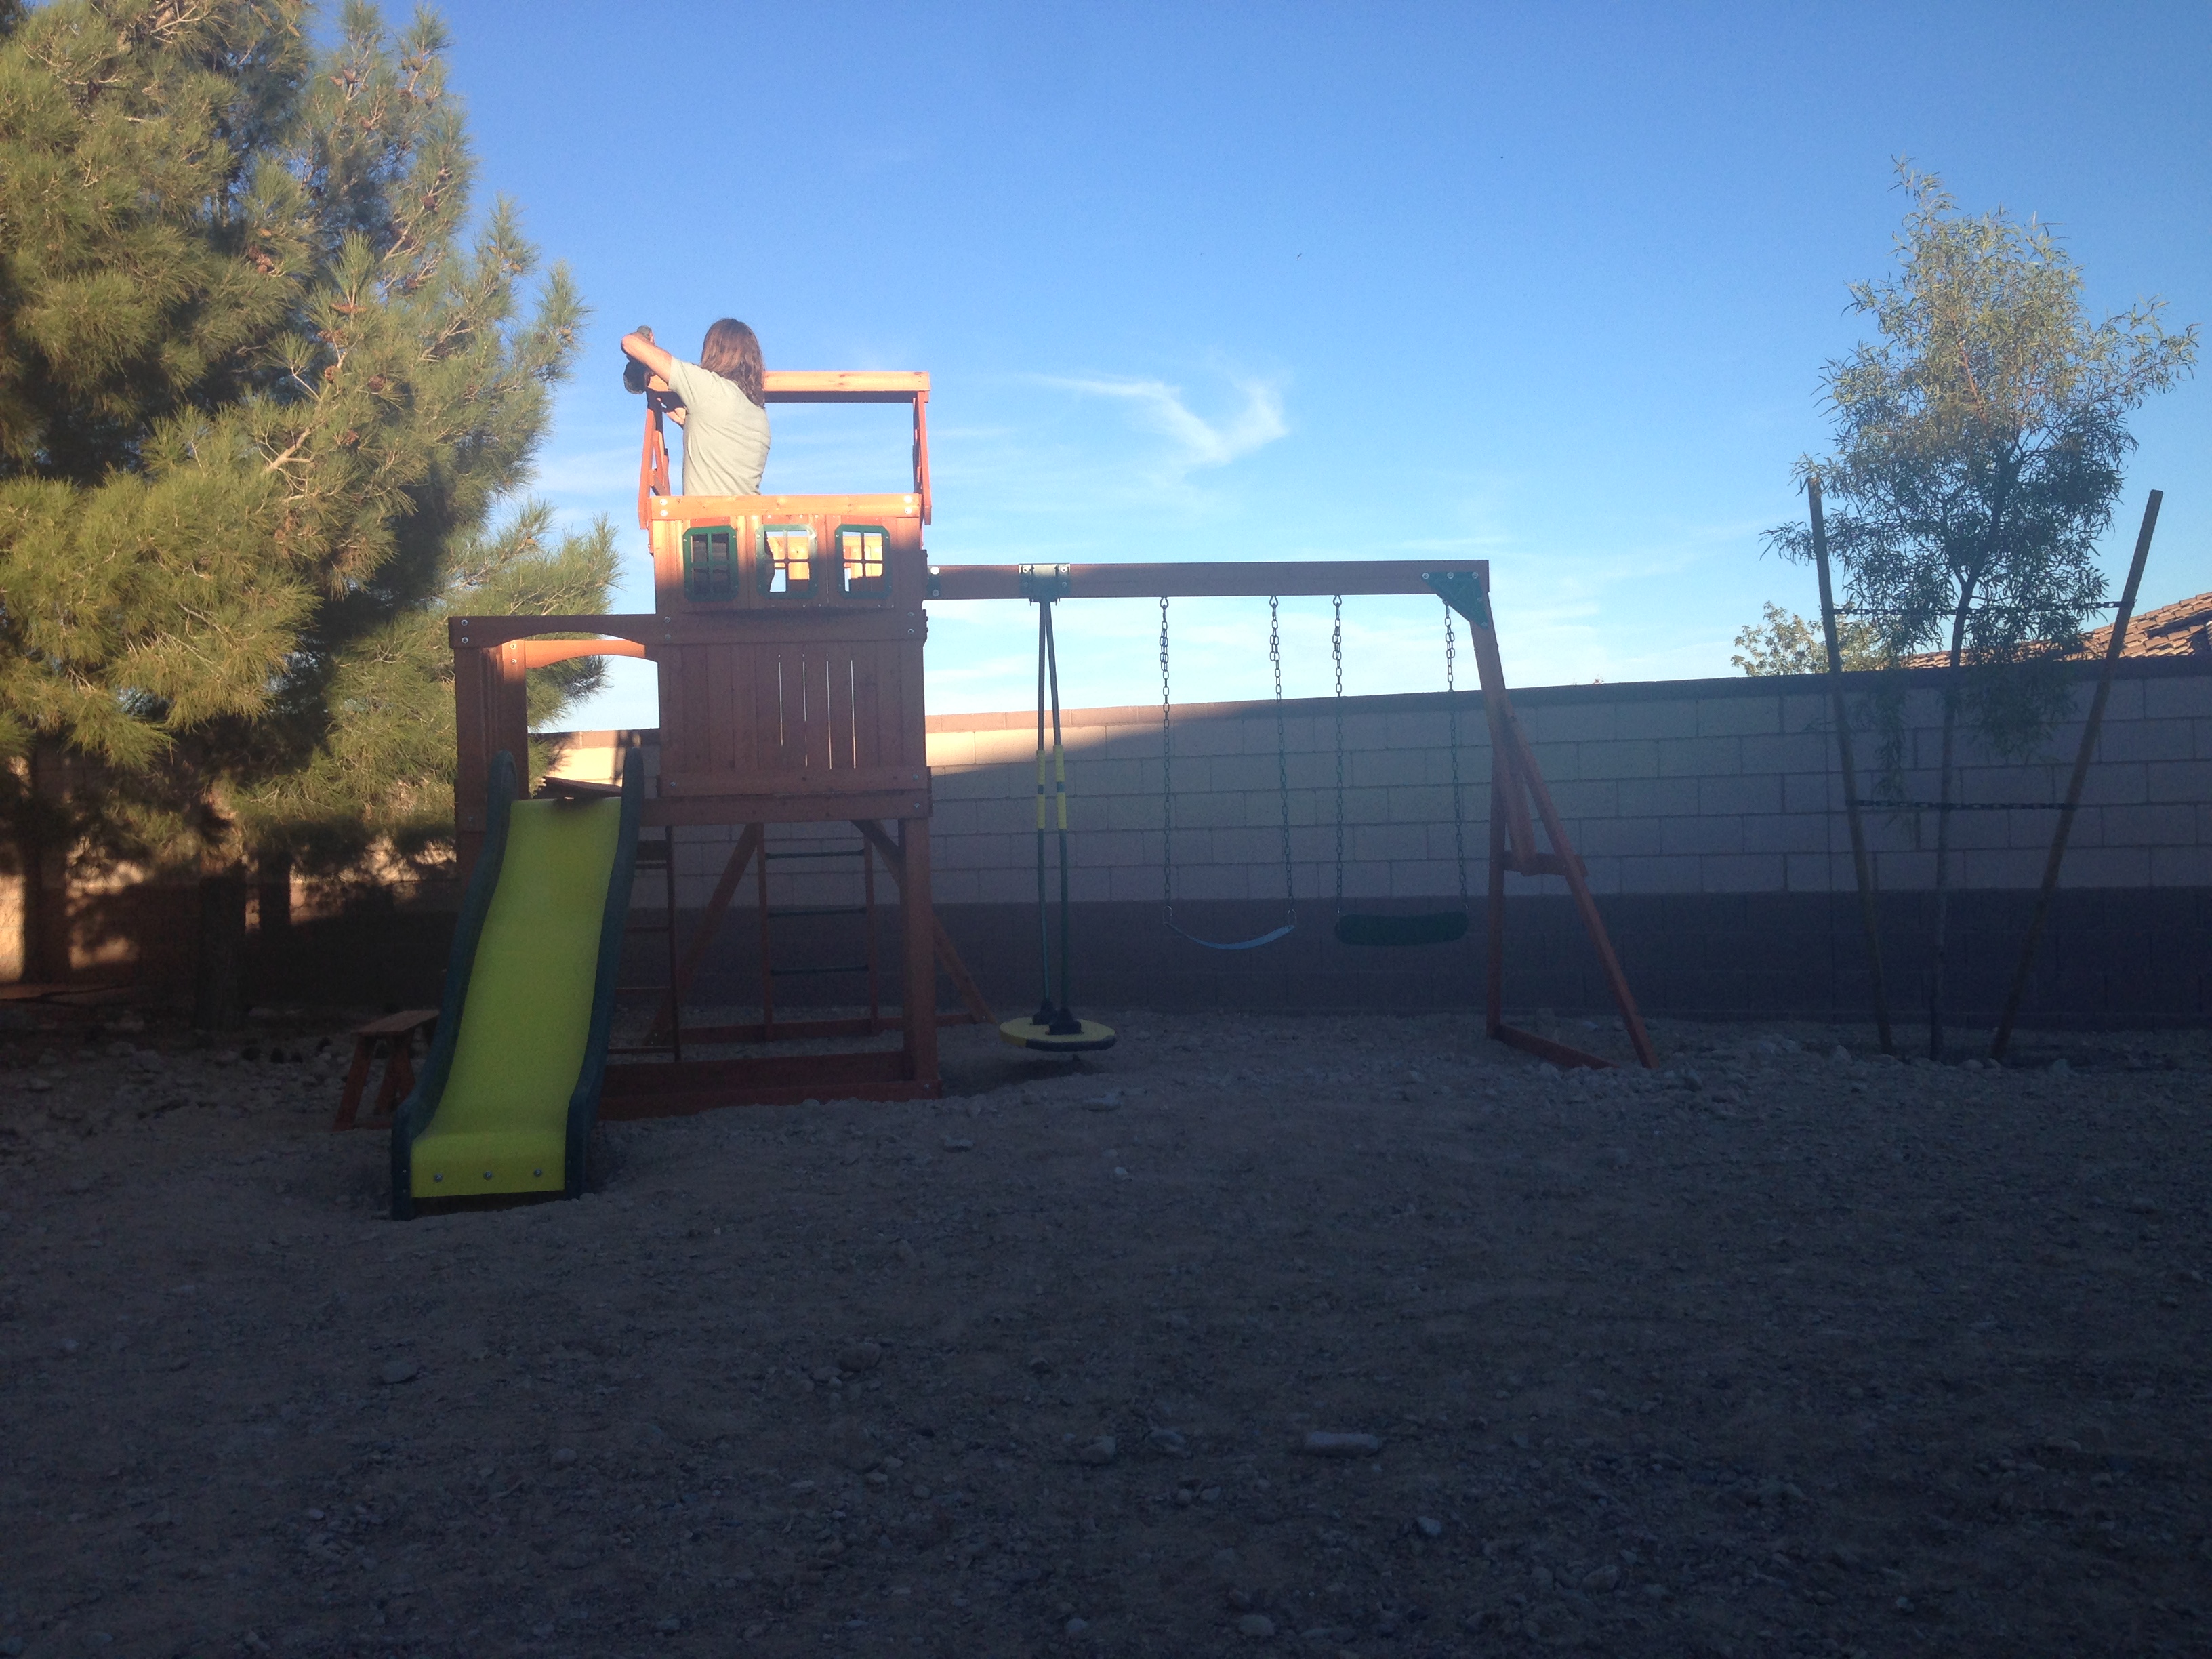
 First, I can tell you that the 25 hours it took to put this backyard swing set together by myself took significantly more time and effort than I was expecting. But I can say that with proper planning and methodical use of my time, I was able to cut out much of the typical frustrations that come with building such a project of this magnitude.
This article is my opinion on the steps you should take to put yourself in the best position to successfully complete building your swing set such that it will be aesthetically pleasing, stable and safe for your child(ren) to play on for the life of the product.
Inventory Major Parts
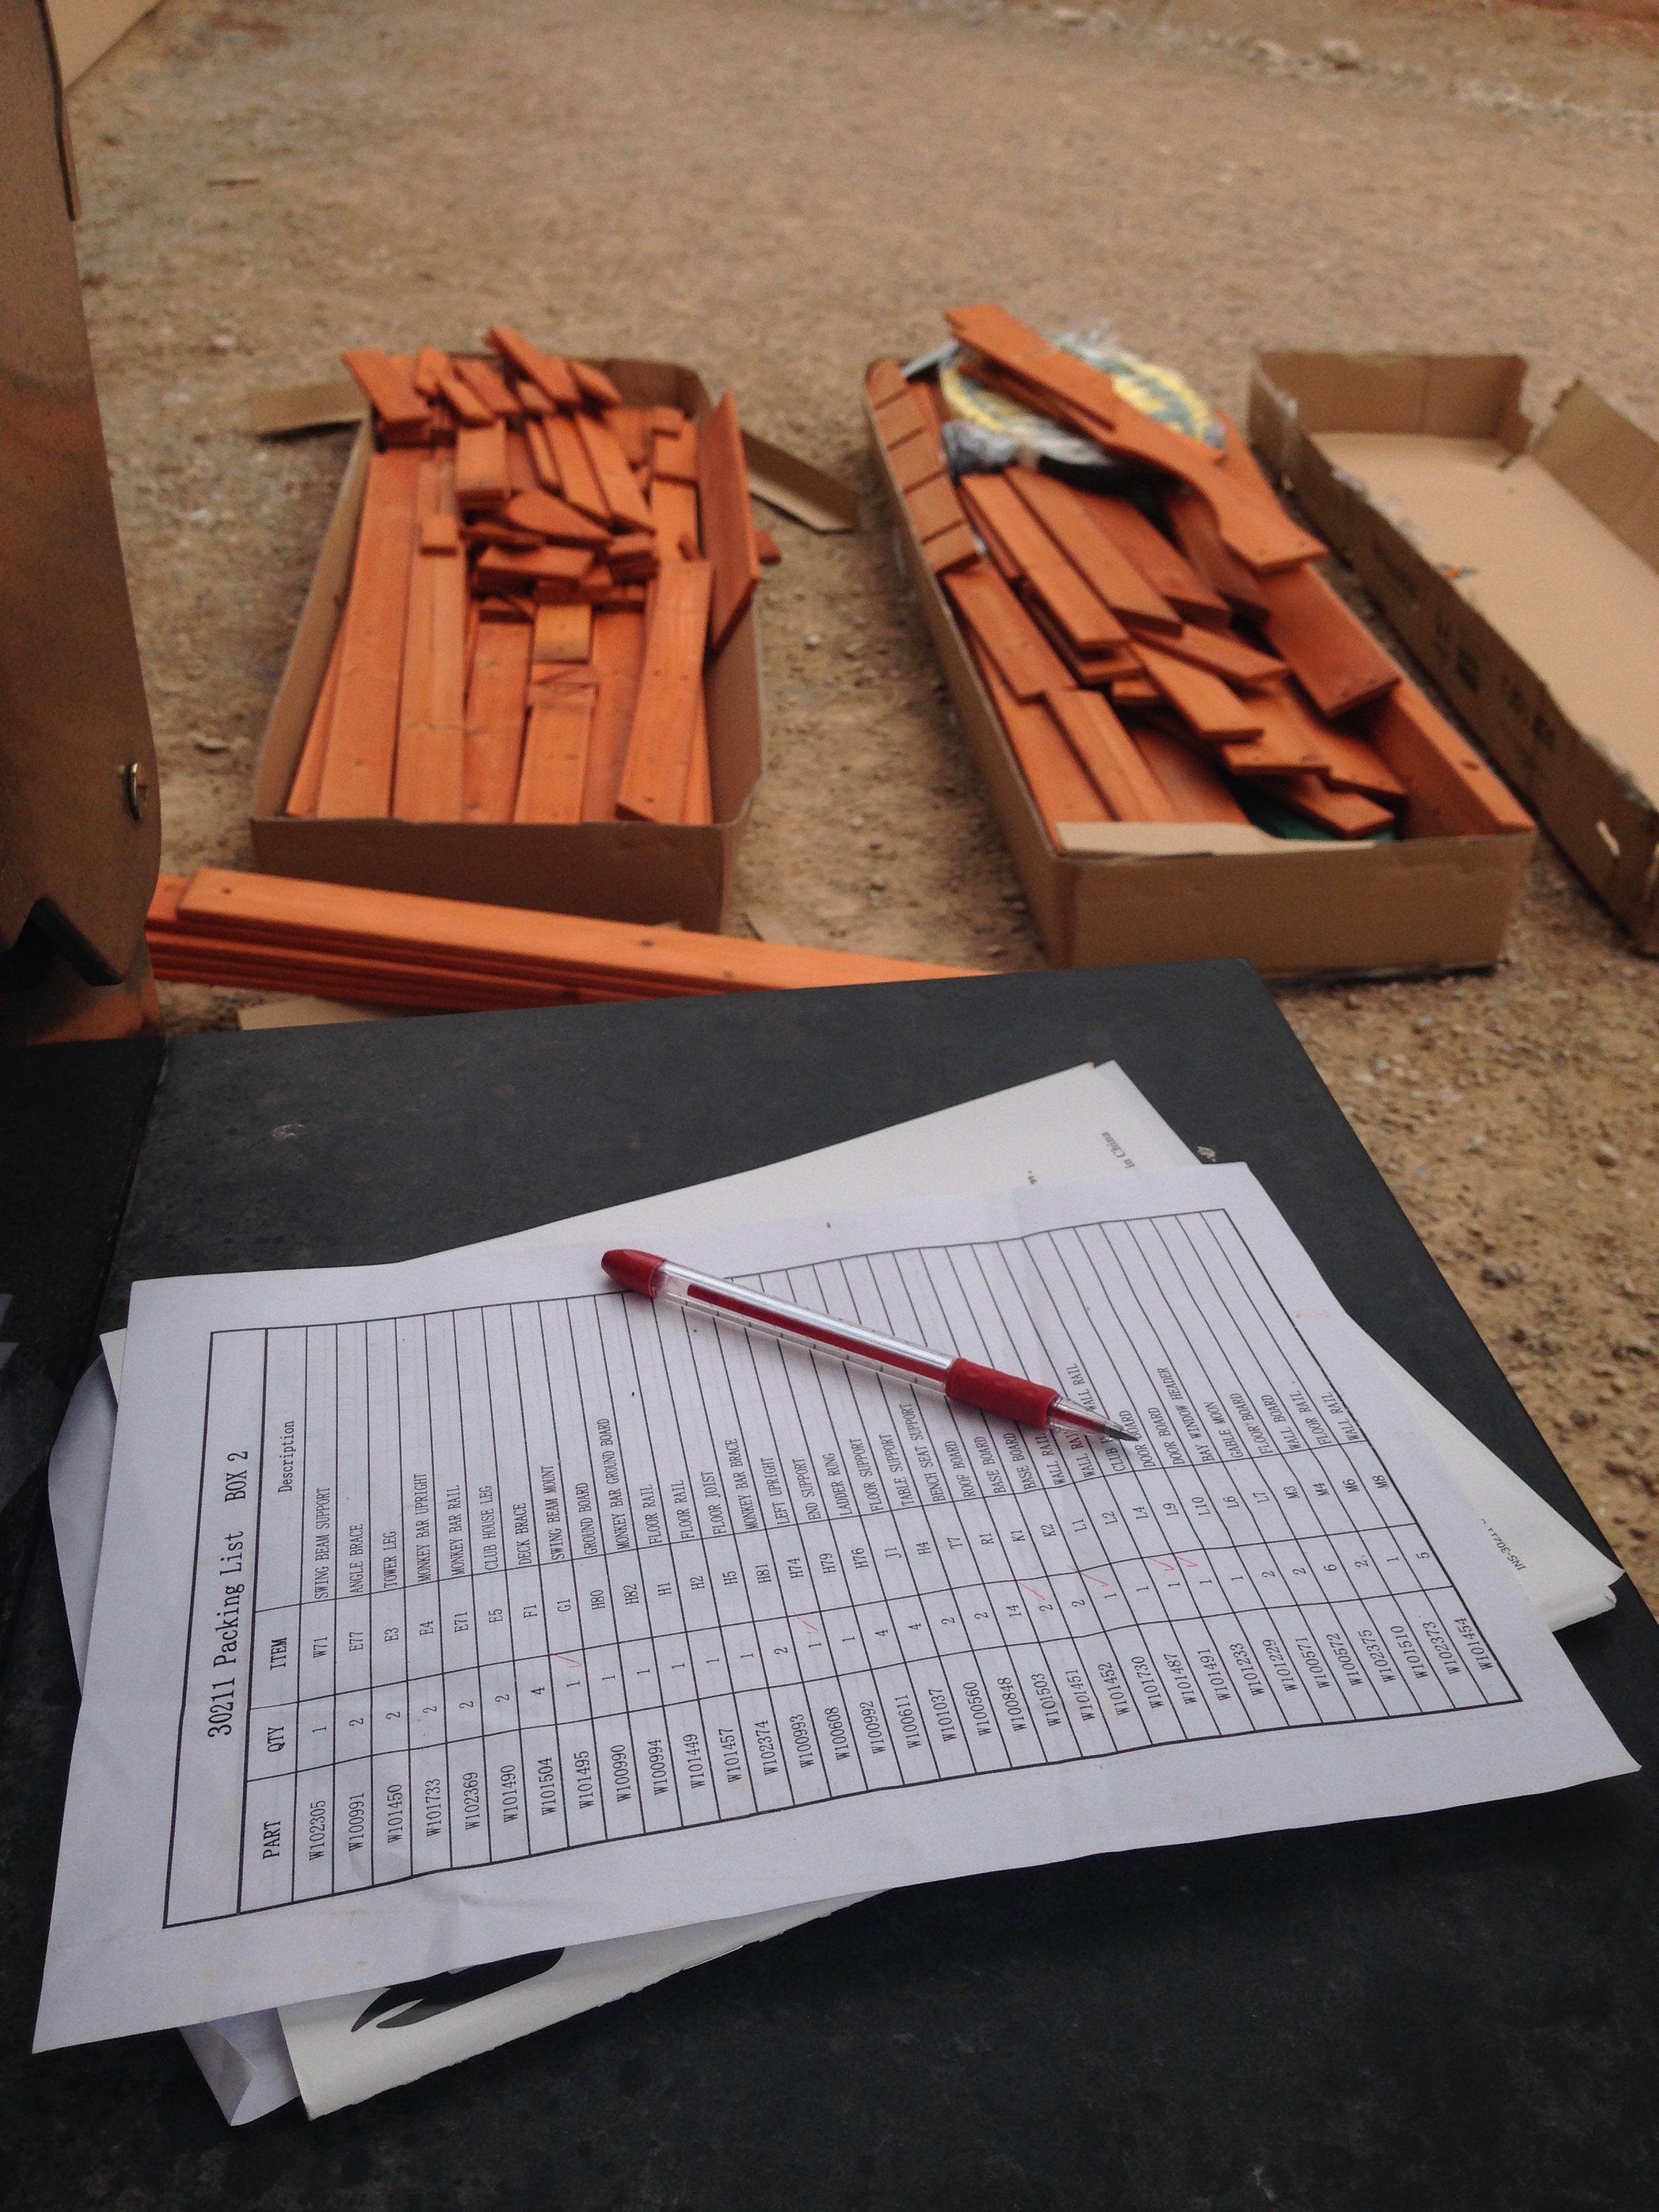
It’s a bit cumbersome and annoying to have to do, but the first step I recommend be taken, for multiple reasons, is to inventory the parts.
There are really three major part types to inventory.
- Wood Pices
- Larger Hardware Pieces (brackets, handles, etc)
- Small Hardware (screws, bolts, washers, etc)


In my initial inventory I verified the wood pieces and larger hardware, leaving the small hardware to be naturally inventoried in the next step.
Each box should come with its own individual shipping manifest. Verify all the parts that were supposed to be in the box are actually in the box.
This will eliminate the massive frustration of getting half way through the project, only to find out a particular part is missing and therefore having to delay progress by forking off that particular piece, because you have to wait for a part to arrive, while you either halt the entire project, or force your brain to have to do more work to successfully work around that missing part.
Beyond ensuring you don’t hamper your flow after you get started; inventorying parts is also your fist step in initially familiarizing yourself with the low level parts that will come together in the individual assembly steps to form the final whole assembly.
At this point, this action not something you even need to be aware of, it will just happen as you inventory the parts.
And the more you become familiar with the parts, the more space you give your brain to properly assemble the more confusing sections.
Fyi: I did not inventory the small hardware (i.e. nuts, bolts, washers, etc.) as it is naturally and more easily inventoried in the next step.
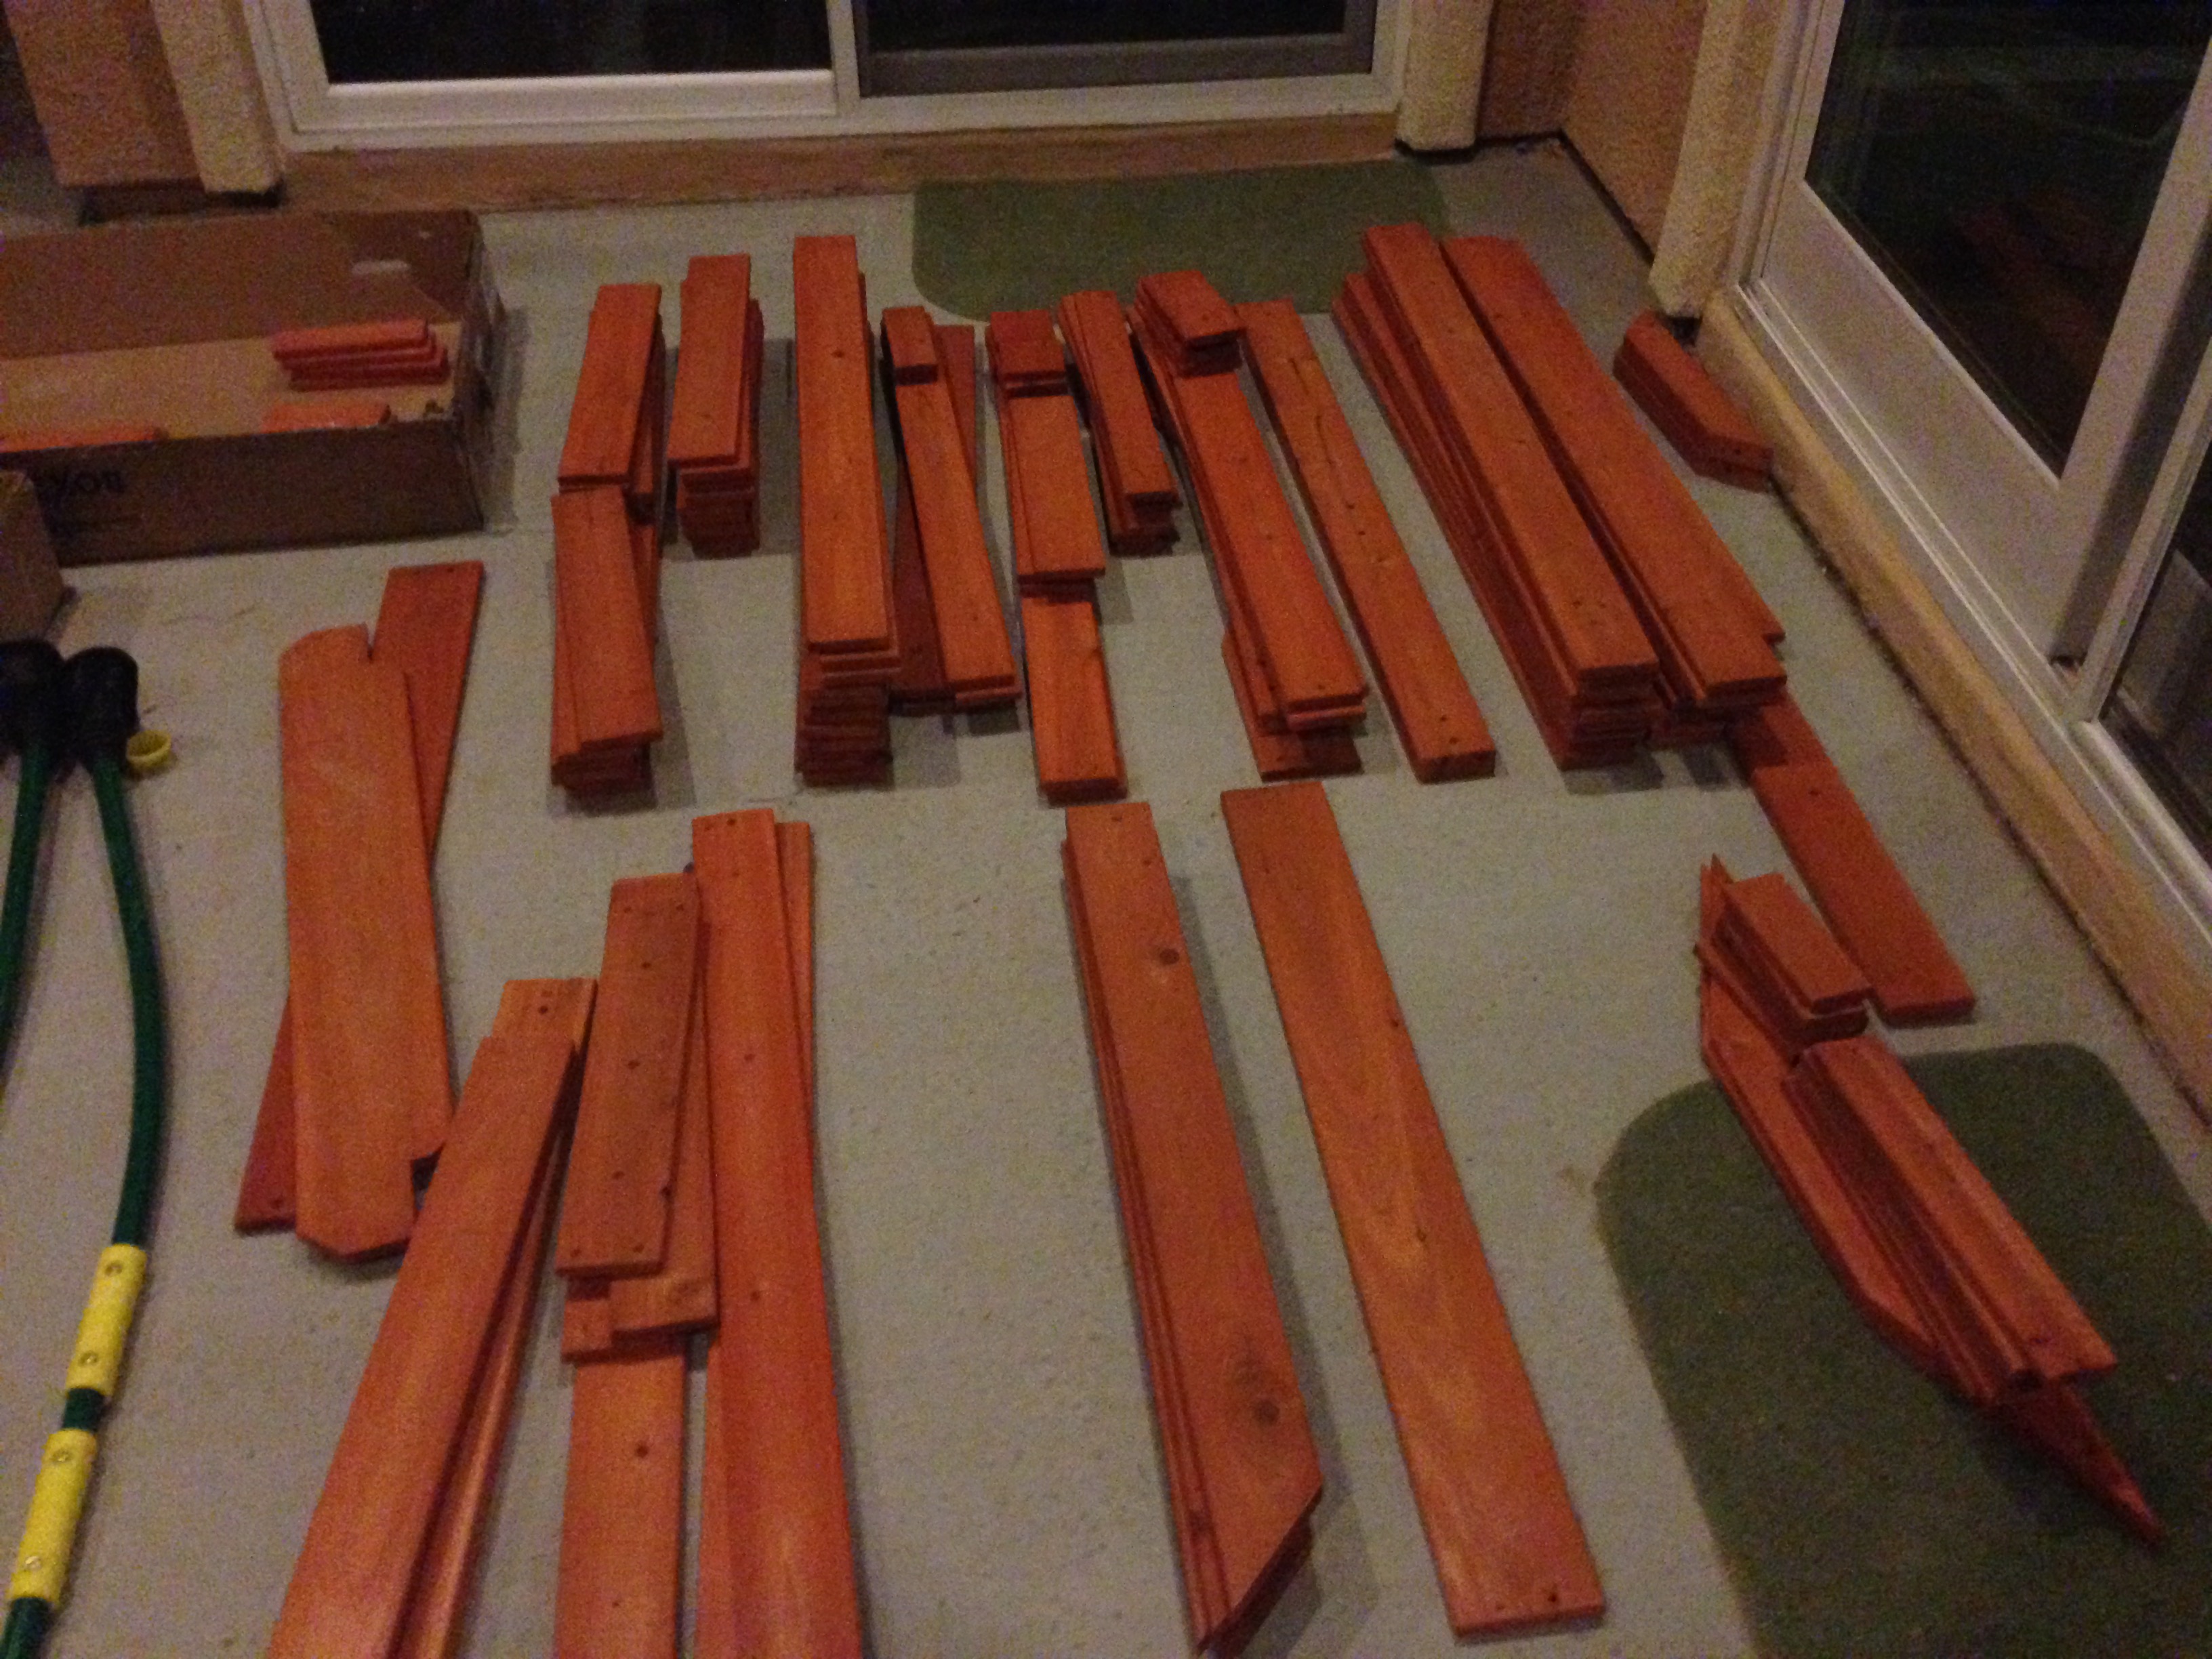
 Finally, this step is an initial organization that will make upcoming steps more efficient. After you check off each wood part, put them in a pile with their identifying marks all in the same direction so you don’t have to later sort through boards, flipping them back and forth as you look for the identifier. For the manufacturer of my swing set, the identifying mark was a stamped letter-number combination (i.e. E3) on one end of each board.
Separate Hardware into Steps/Phases
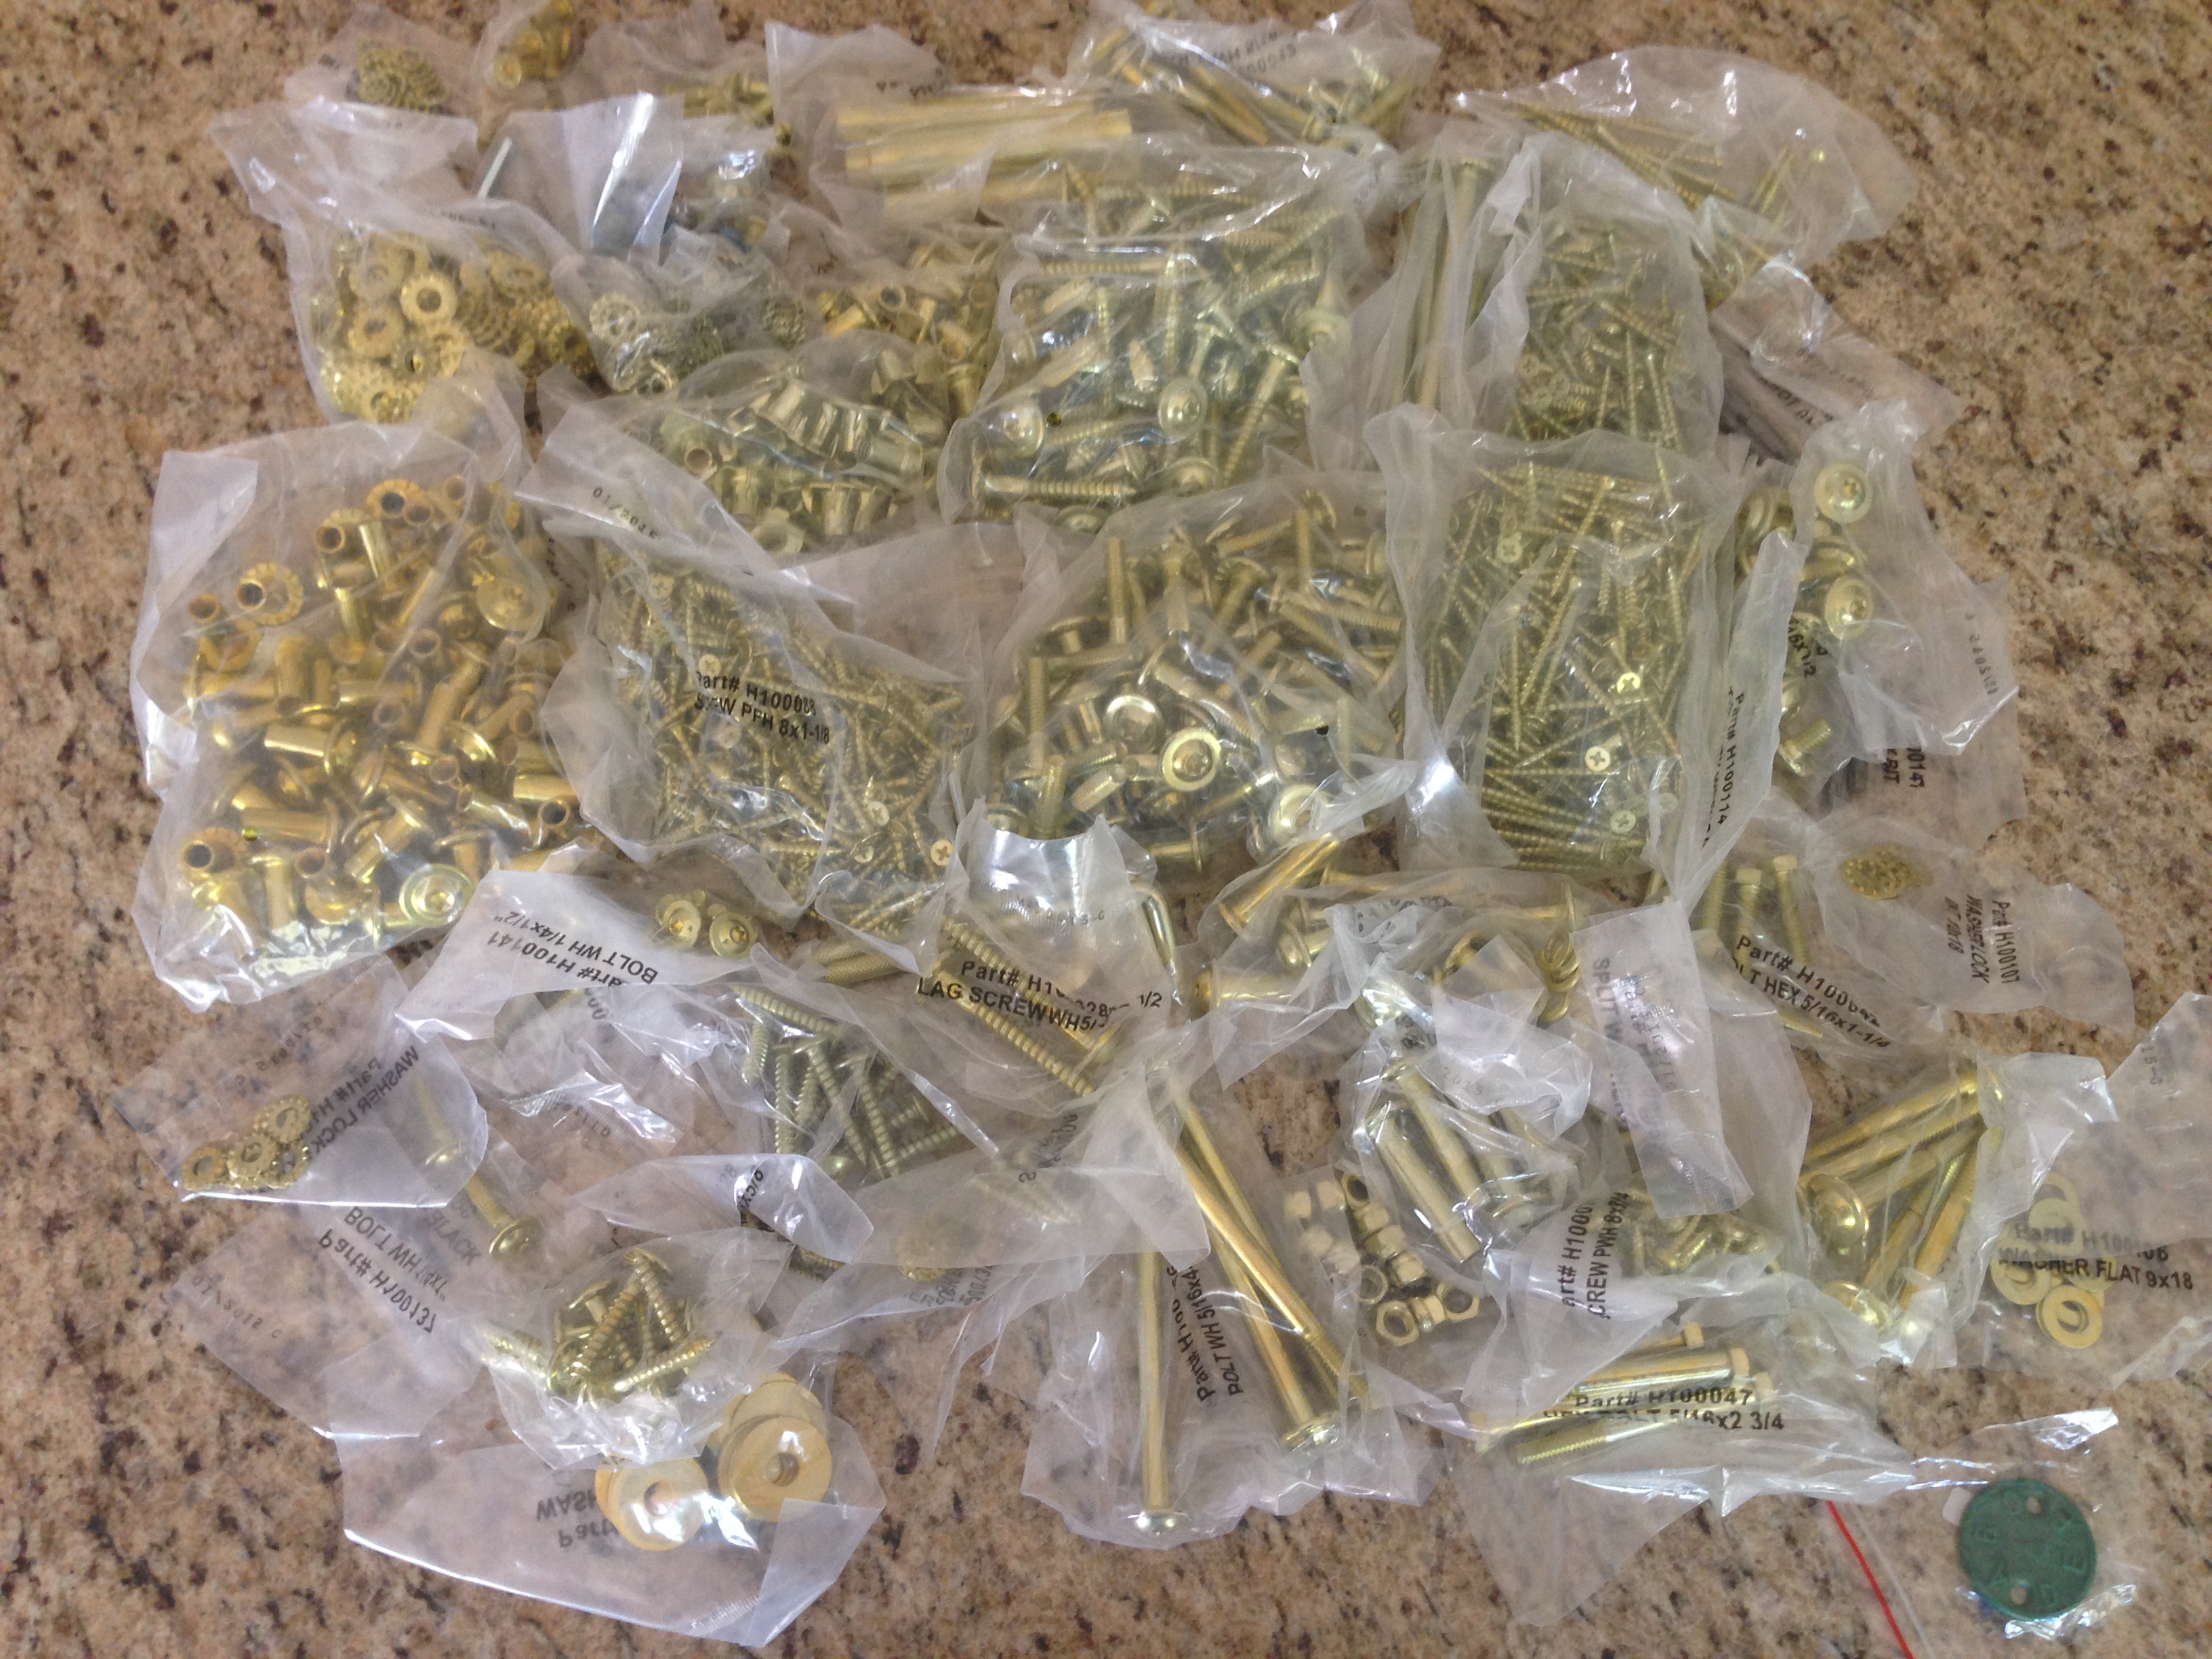
 The next preparation step I took was to start organizing the hardware which, for my swing set, came as a bunch of bags of individually wrapped amounts of unique pieces.
There are multiple reasons to do this step. The first is inventory; you’ll be verifying that you’ve received all the screws, washers, nuts, and bolts required for each assembly step. The second reason it’s useful is that it forces you to become familiar with the individual hardware parts. As you get familiar, you’ll start to see patterns like certain bolts are virtually always paired with certain washers and nuts. If you are later inserting one of those bolts and you don’t see the washer, you’ll have the knowledge to verify what you are doing with the instructions. This turns out to be a measure that will pay off later in safety as the wooden swing set begins to age.
Similar to becoming familiar with the wooden pieces, this familiarity with the hardware will free up your brain to focus on correctly following the directions and putting the pieces together in the correct orientation when you physically start to build each component. You won’t be taxing your observation and decision making skills by wasting brain power searching for boards and the right nut or bolt, as you’ll already have those parts in the bag. You’ll also reduce the potential for putting the wrong screw or bolt in the wrong board, or even forgetting major or minor screws. And there’s nothing worse than putting in 44 screws only to find out you should have used the smaller size screw.
I started going through the instruction manual for each step and extracted the hardware necessary for that step.
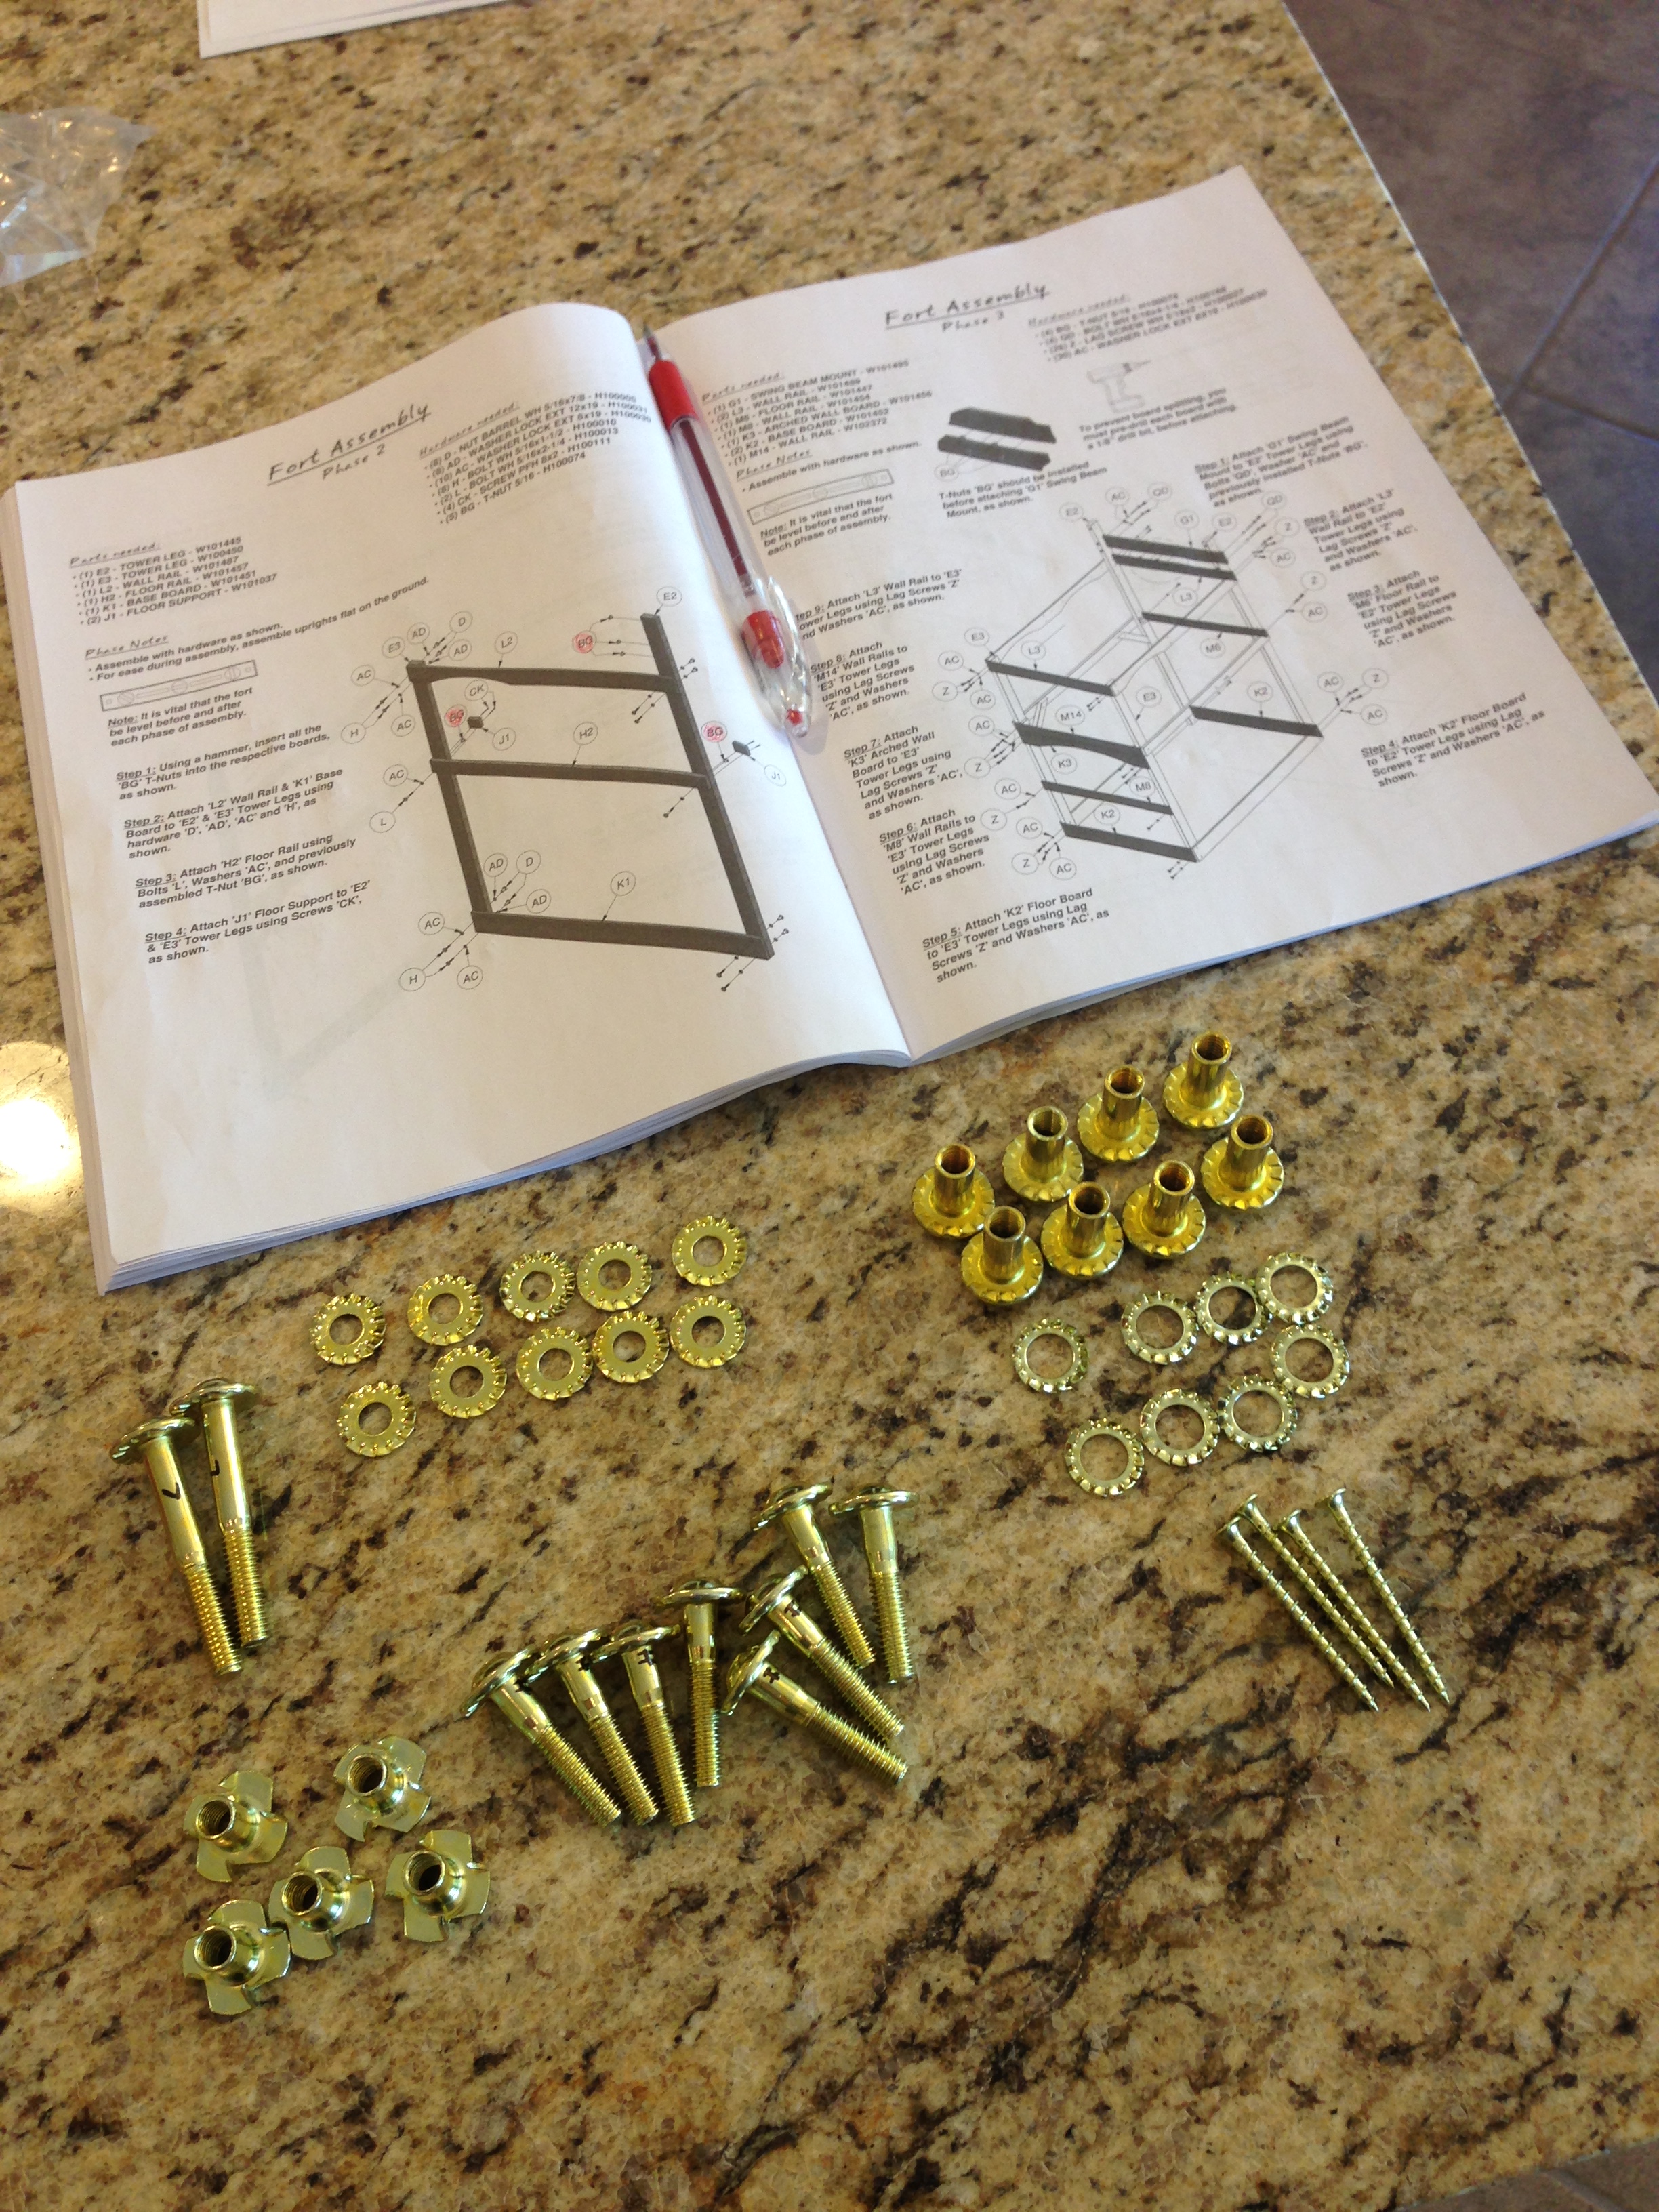
Then I would often combine the washers and nuts with their respective bolts to get a feel for what washers and nuts typically go with certain bolts. Because you have to read the instructions to figure out which hardware parts will go together, it also forces your brain to start learning how to read the assembly instructions, giving yourself more experience before actually building such that you'll be more apt to build it correctly, while avoiding potential mistakes that often come from being overwhelmed with new information.
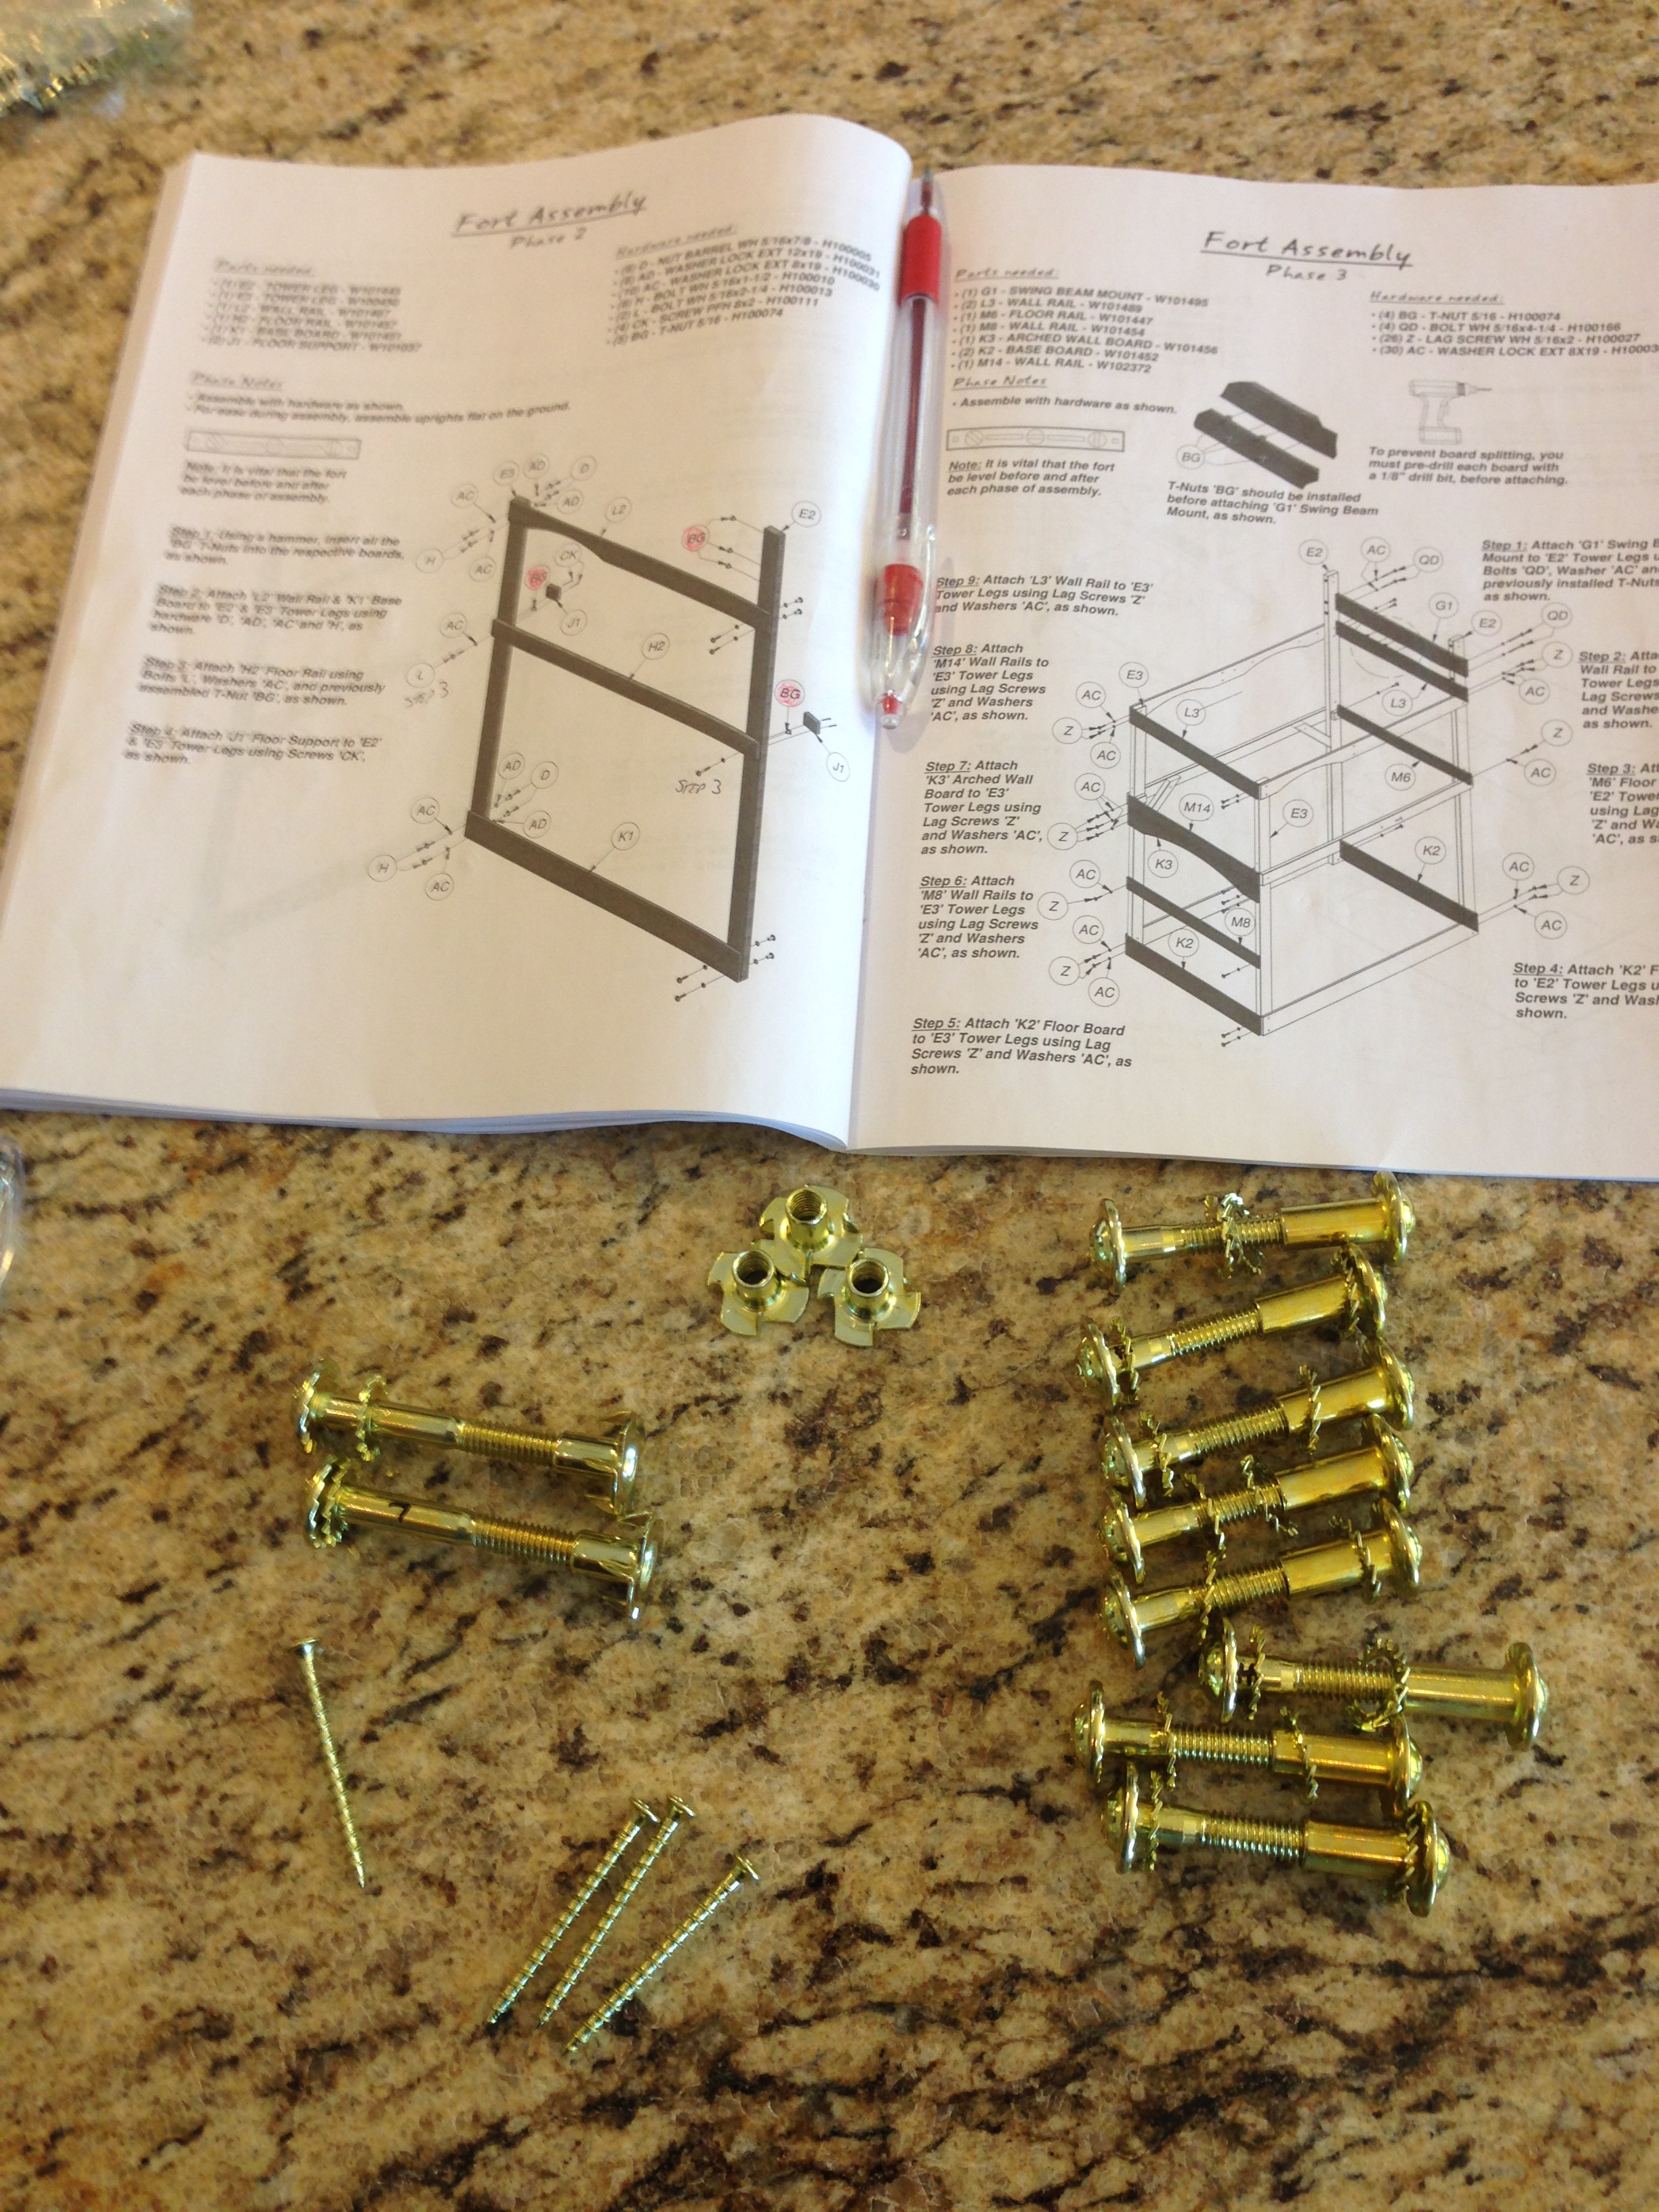
Sometimes during this step and/or before starting that instruction step's physical assembly, I would even lay the hardware out on the page to get a visual feel for where each of the parts would ultimately be inserted.

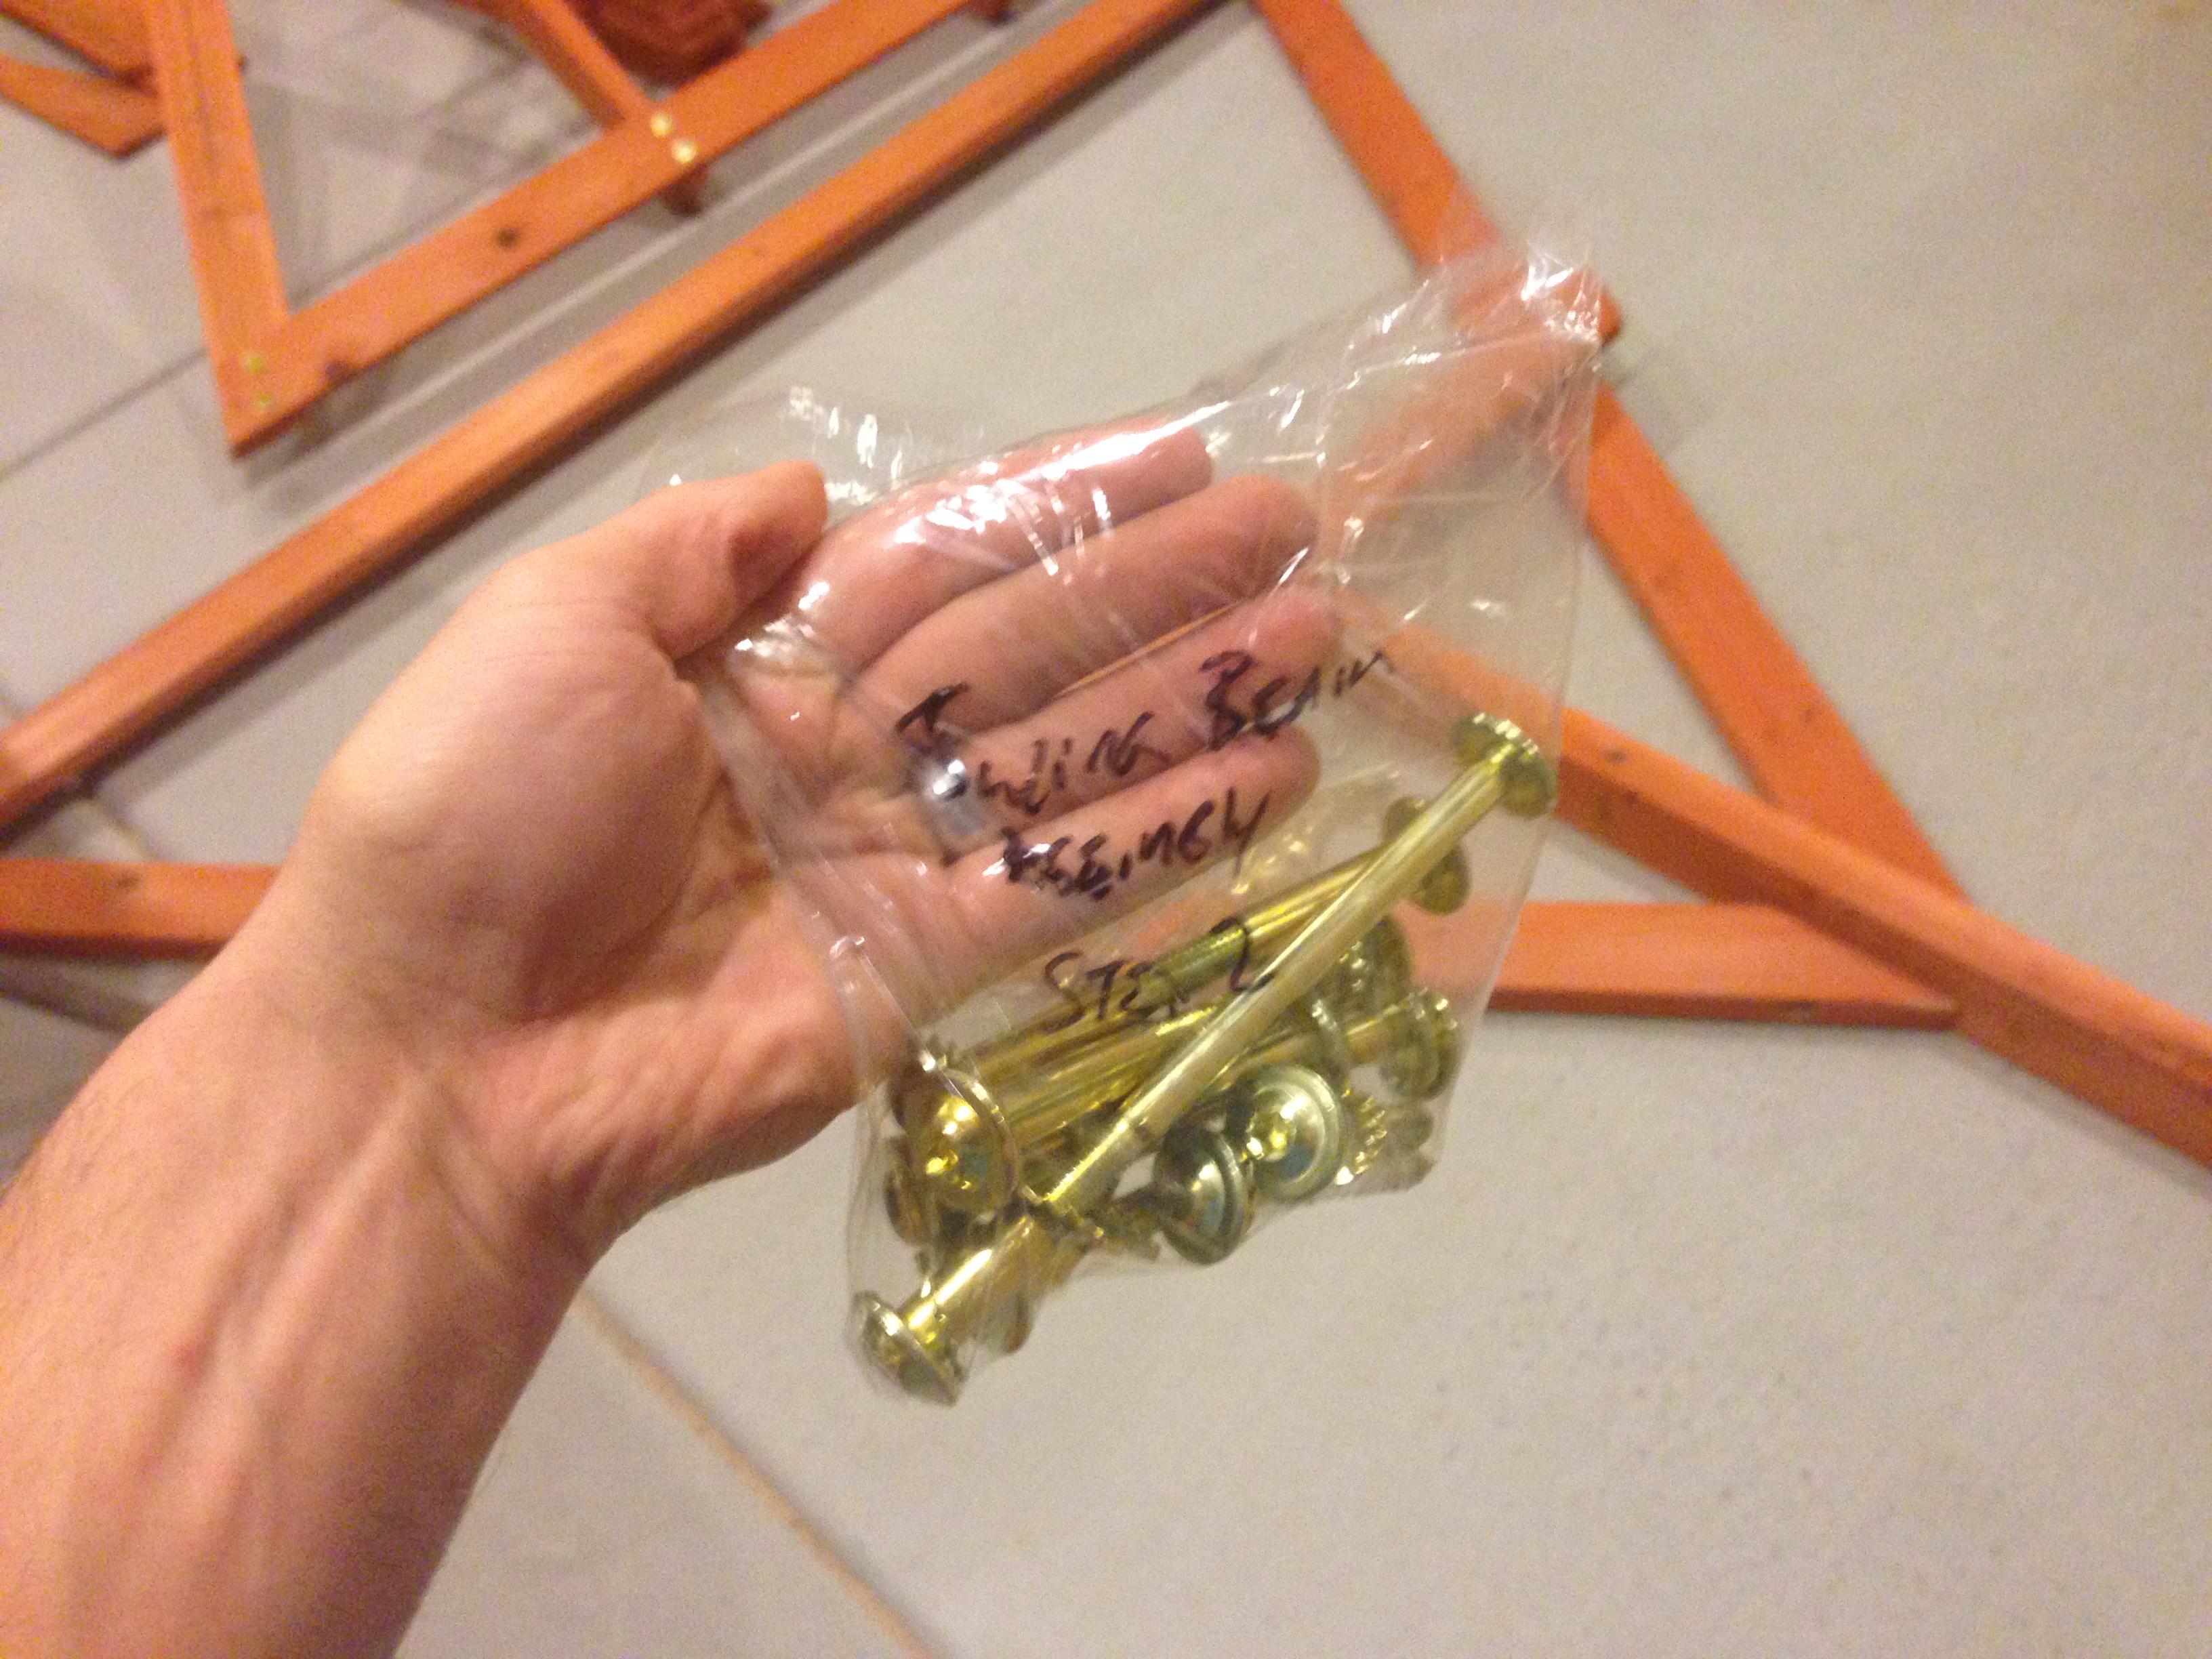
Then I'd finish by putting all the hardware in a bag and labeling it for that instruction step.

Ultimately, I had bags of hardware separated and ready to go for each step.

 Because you’ll have a bag of all the correct hardware when you start each instruction, you’ll have more confidence that you’re putting the correct screw or bolt in each hole, because you’ve previously done the work to reduce the chance for error. A couple of times, I finished a component and had a couple screws left over, and I immediately knew I had missed something in that step. If I was just grabbing for a large bag of hardware for the overall project, I wouldn’t have that immediate feedback that I had missed something, which may have caused me to have to later pull a complex combination of completed components apart to get at a bolt or screw that was missing.
Speaking of having to take a section apart, I learned the hard way that some of the hardware can be deformed. Therefore, the final check you want to perform as you separate the hardware into bags for each of the instruction sets is to verify there aren’t any deformities that will cause trouble later. Specifically for my situation, one of the T-bolts didn’t get threaded on the inside.
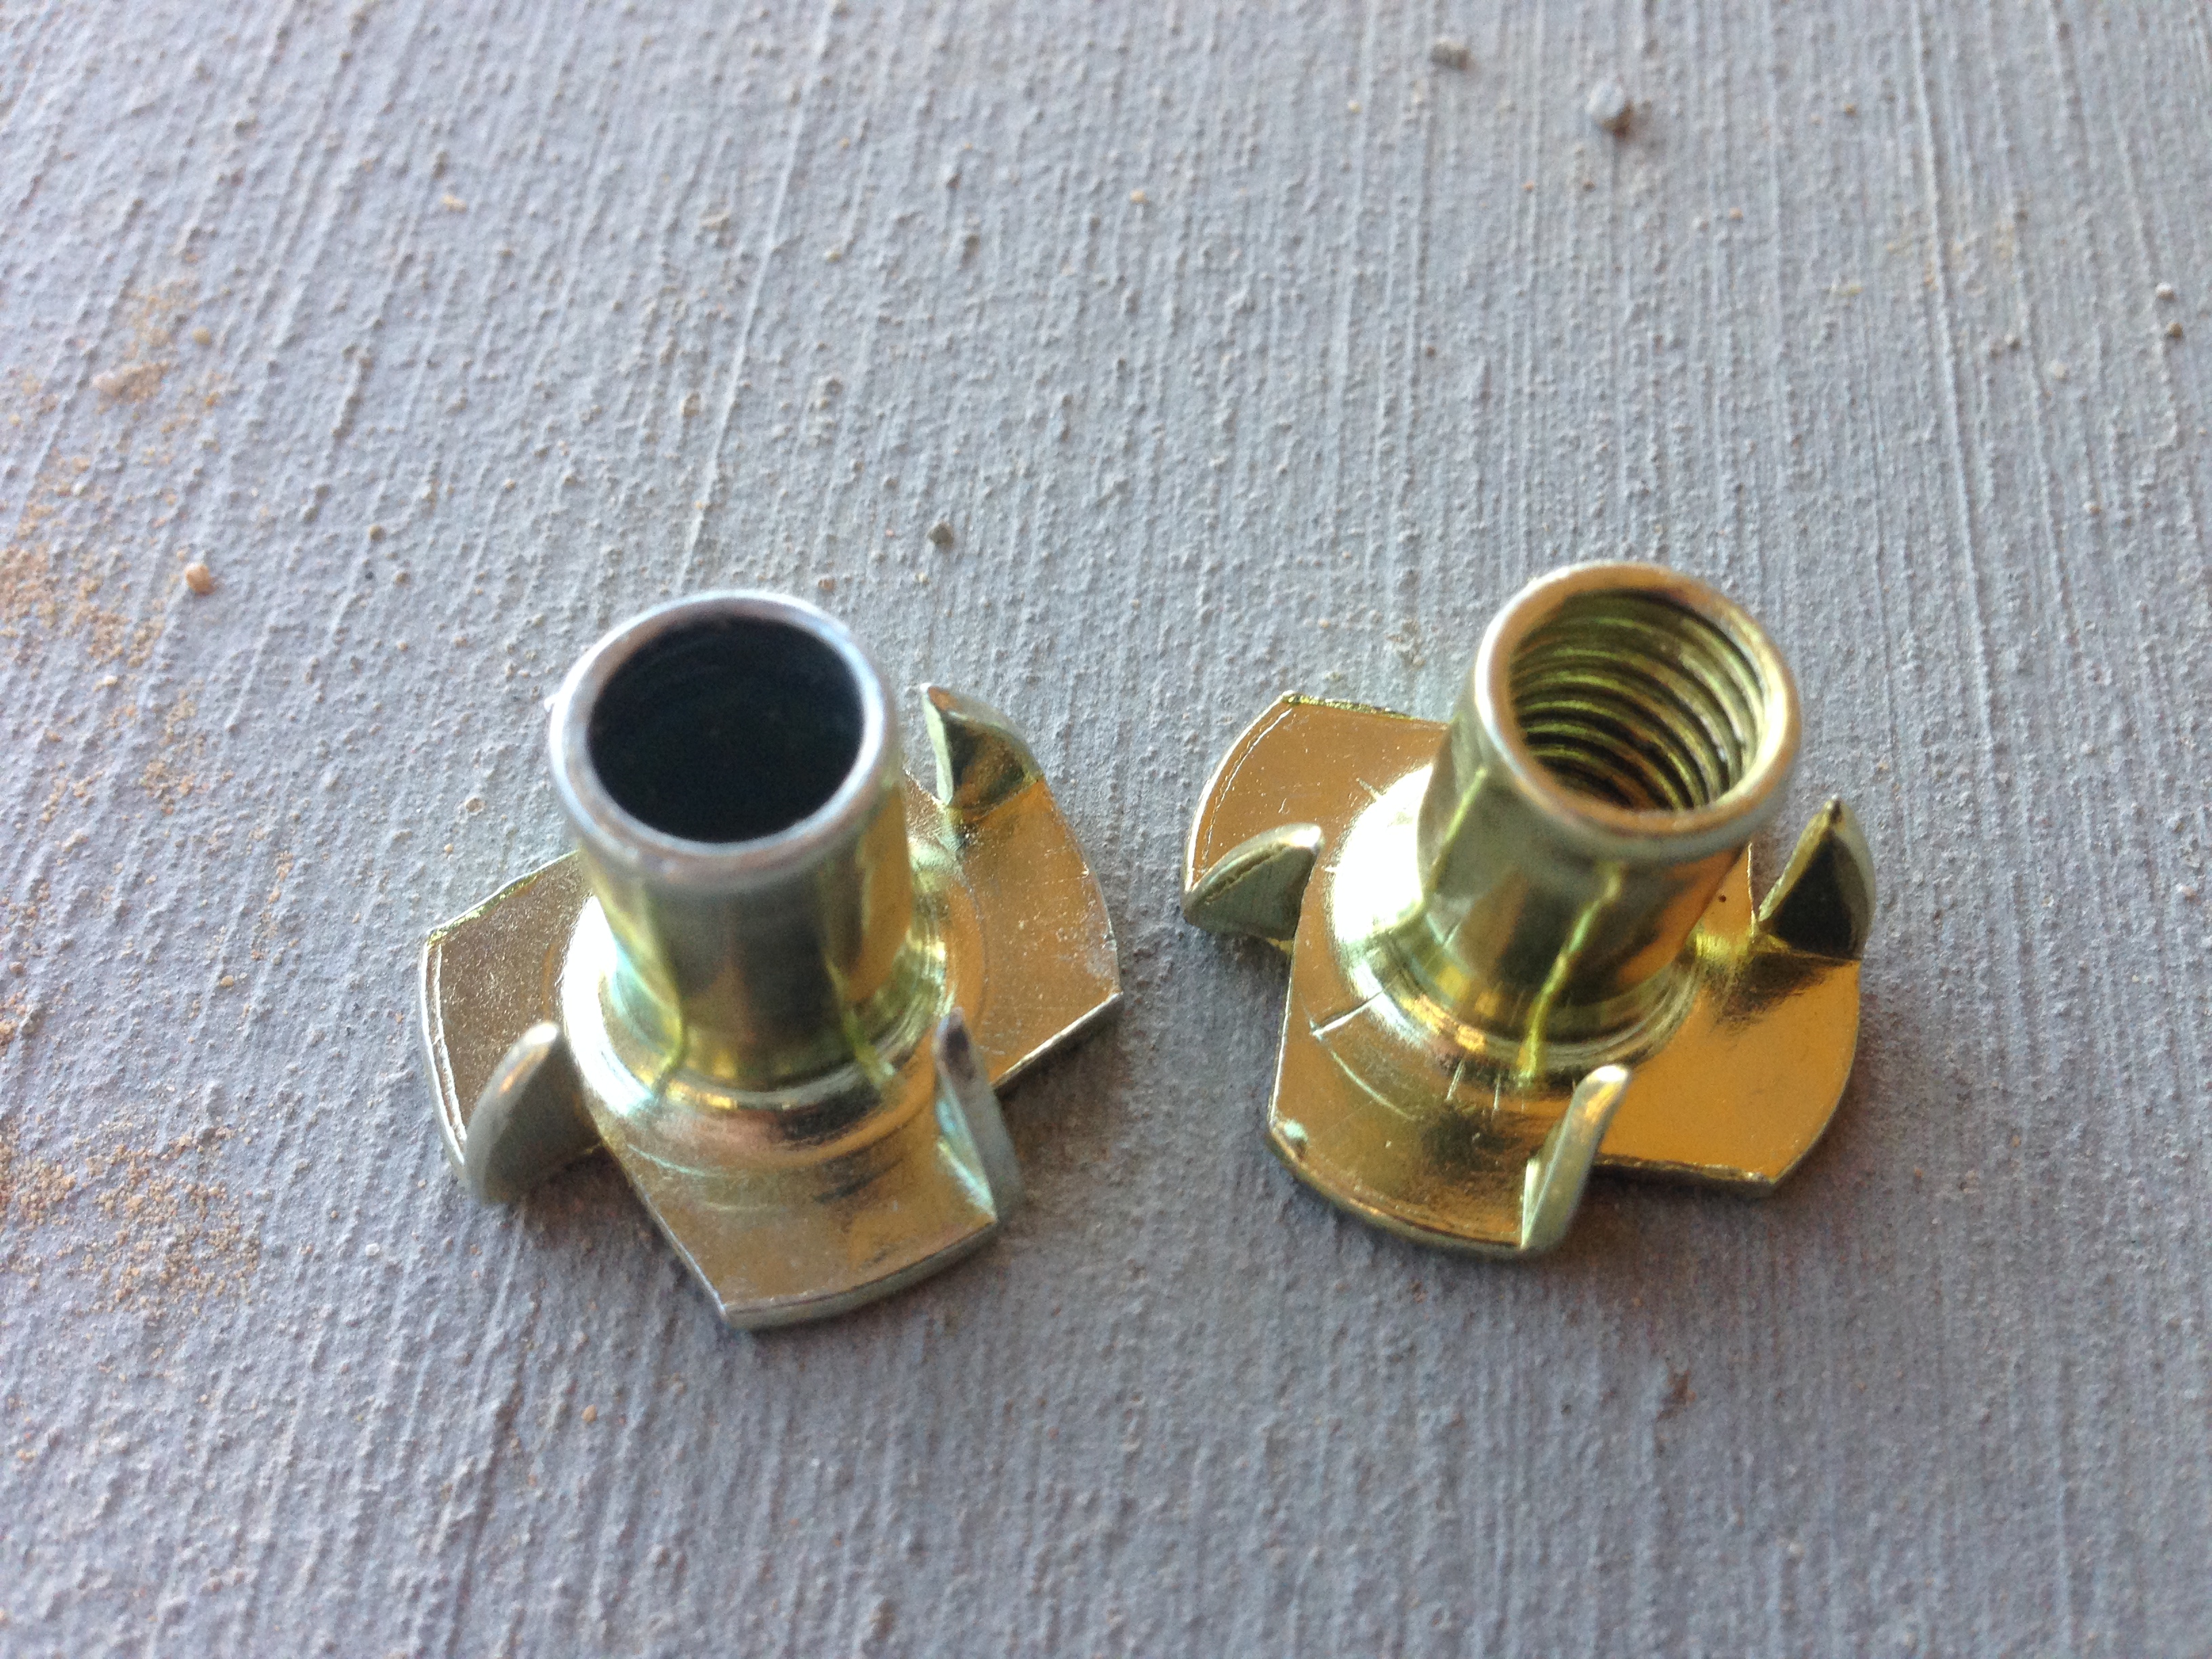
When I went to attach the monkey bars to the base unit as I was nearing completion of the project, one of the bolts wouldn’t screw in, because there was no threading in the t-bolt that I had hammered into the wood in a previous step. Luckily I only had to pull off one small cosmetic board to get at that t-bolt and it was fairly easy to pry out and replace. But there are other, more buried, t-bolts that would have been more difficult to get at and replace.
And finally, when separating the hardware into steps, there are times where there are enough parts or parts that are similar in size that you’ll want to label them. I used a black sharpie and labeled the shaft.
Separate Wood into Steps/Phases
Everything in the previous step holds true for this step. As such, similar to separating the hardware into steps and phases in the previous step, separating the wood into each phase will help save your mental stamina, allowing you to more astutely focus on the physical build. For the current step, you can grab the bag of hardware, the pile of boards and start laying out the assembly. You won't be taxing your brain power and will do a better job of correctly assembling the component.
While organizing the boards, you’ll also get a touch more familiar with the pieces, you’ll notice patterns, and you’ll be more apt to catch and solve any potential issues as they arise. You’ll know if you missed any parts of the current step should any boards be left over.
Pre-Read Assembly Instructions
 This is another step that seems like a waste of time, but really, it prepares your mind to physically put together the swing set by giving your brain a sequence, so you can more accurately think about the component you are assembling as you are doing as you do it; not only putting the pieces together in the correct direction, but as part of the overall sequence; and you’ll be more apt to readily discern if something is going wrong in a way that could hinder the rest of the project.
Your biggest goals with pre-reading are to understand the overall sequence of the swing set assembly while looking for potential issues that may arise, instructions that don’t make sense, and ways to assemble things easier than what the instructions may show.
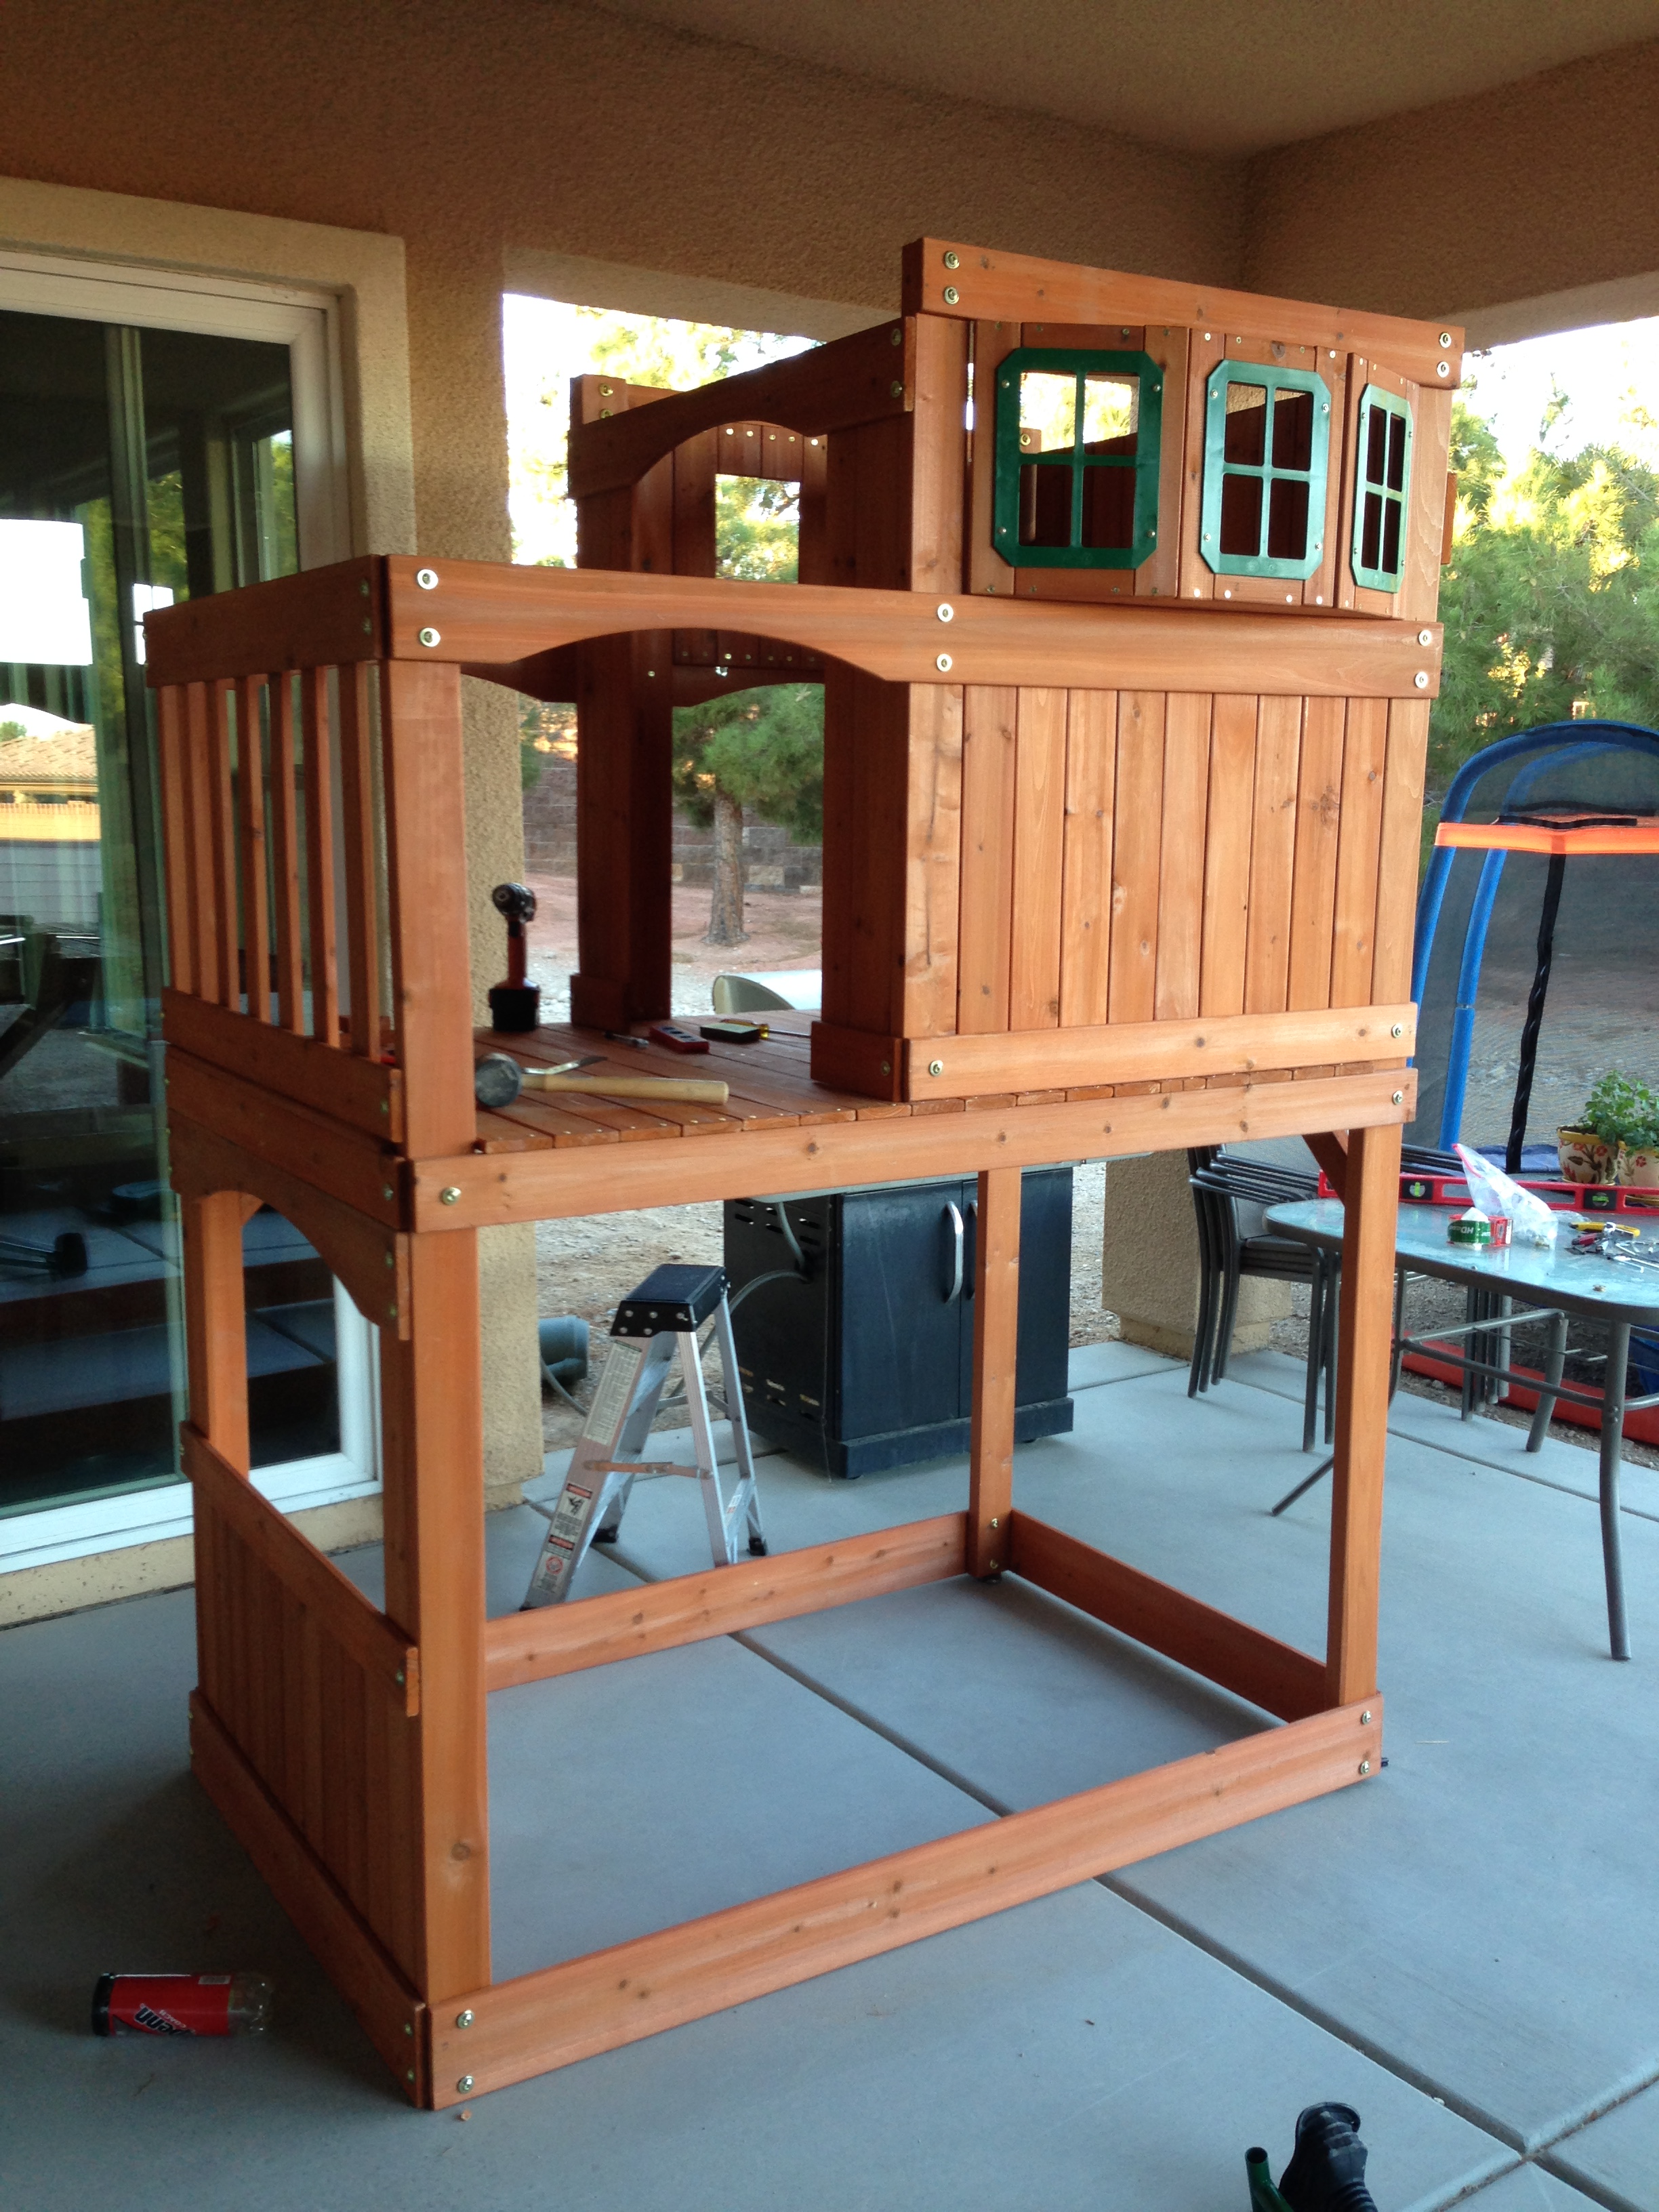
For example, in the swing set I built, I was to build most of the larger components from smaller pieces before finally putting all those larger components together to form the final assembly. Some of those larger components really need to fit together in the final stages of assembly without much tolerance for error.
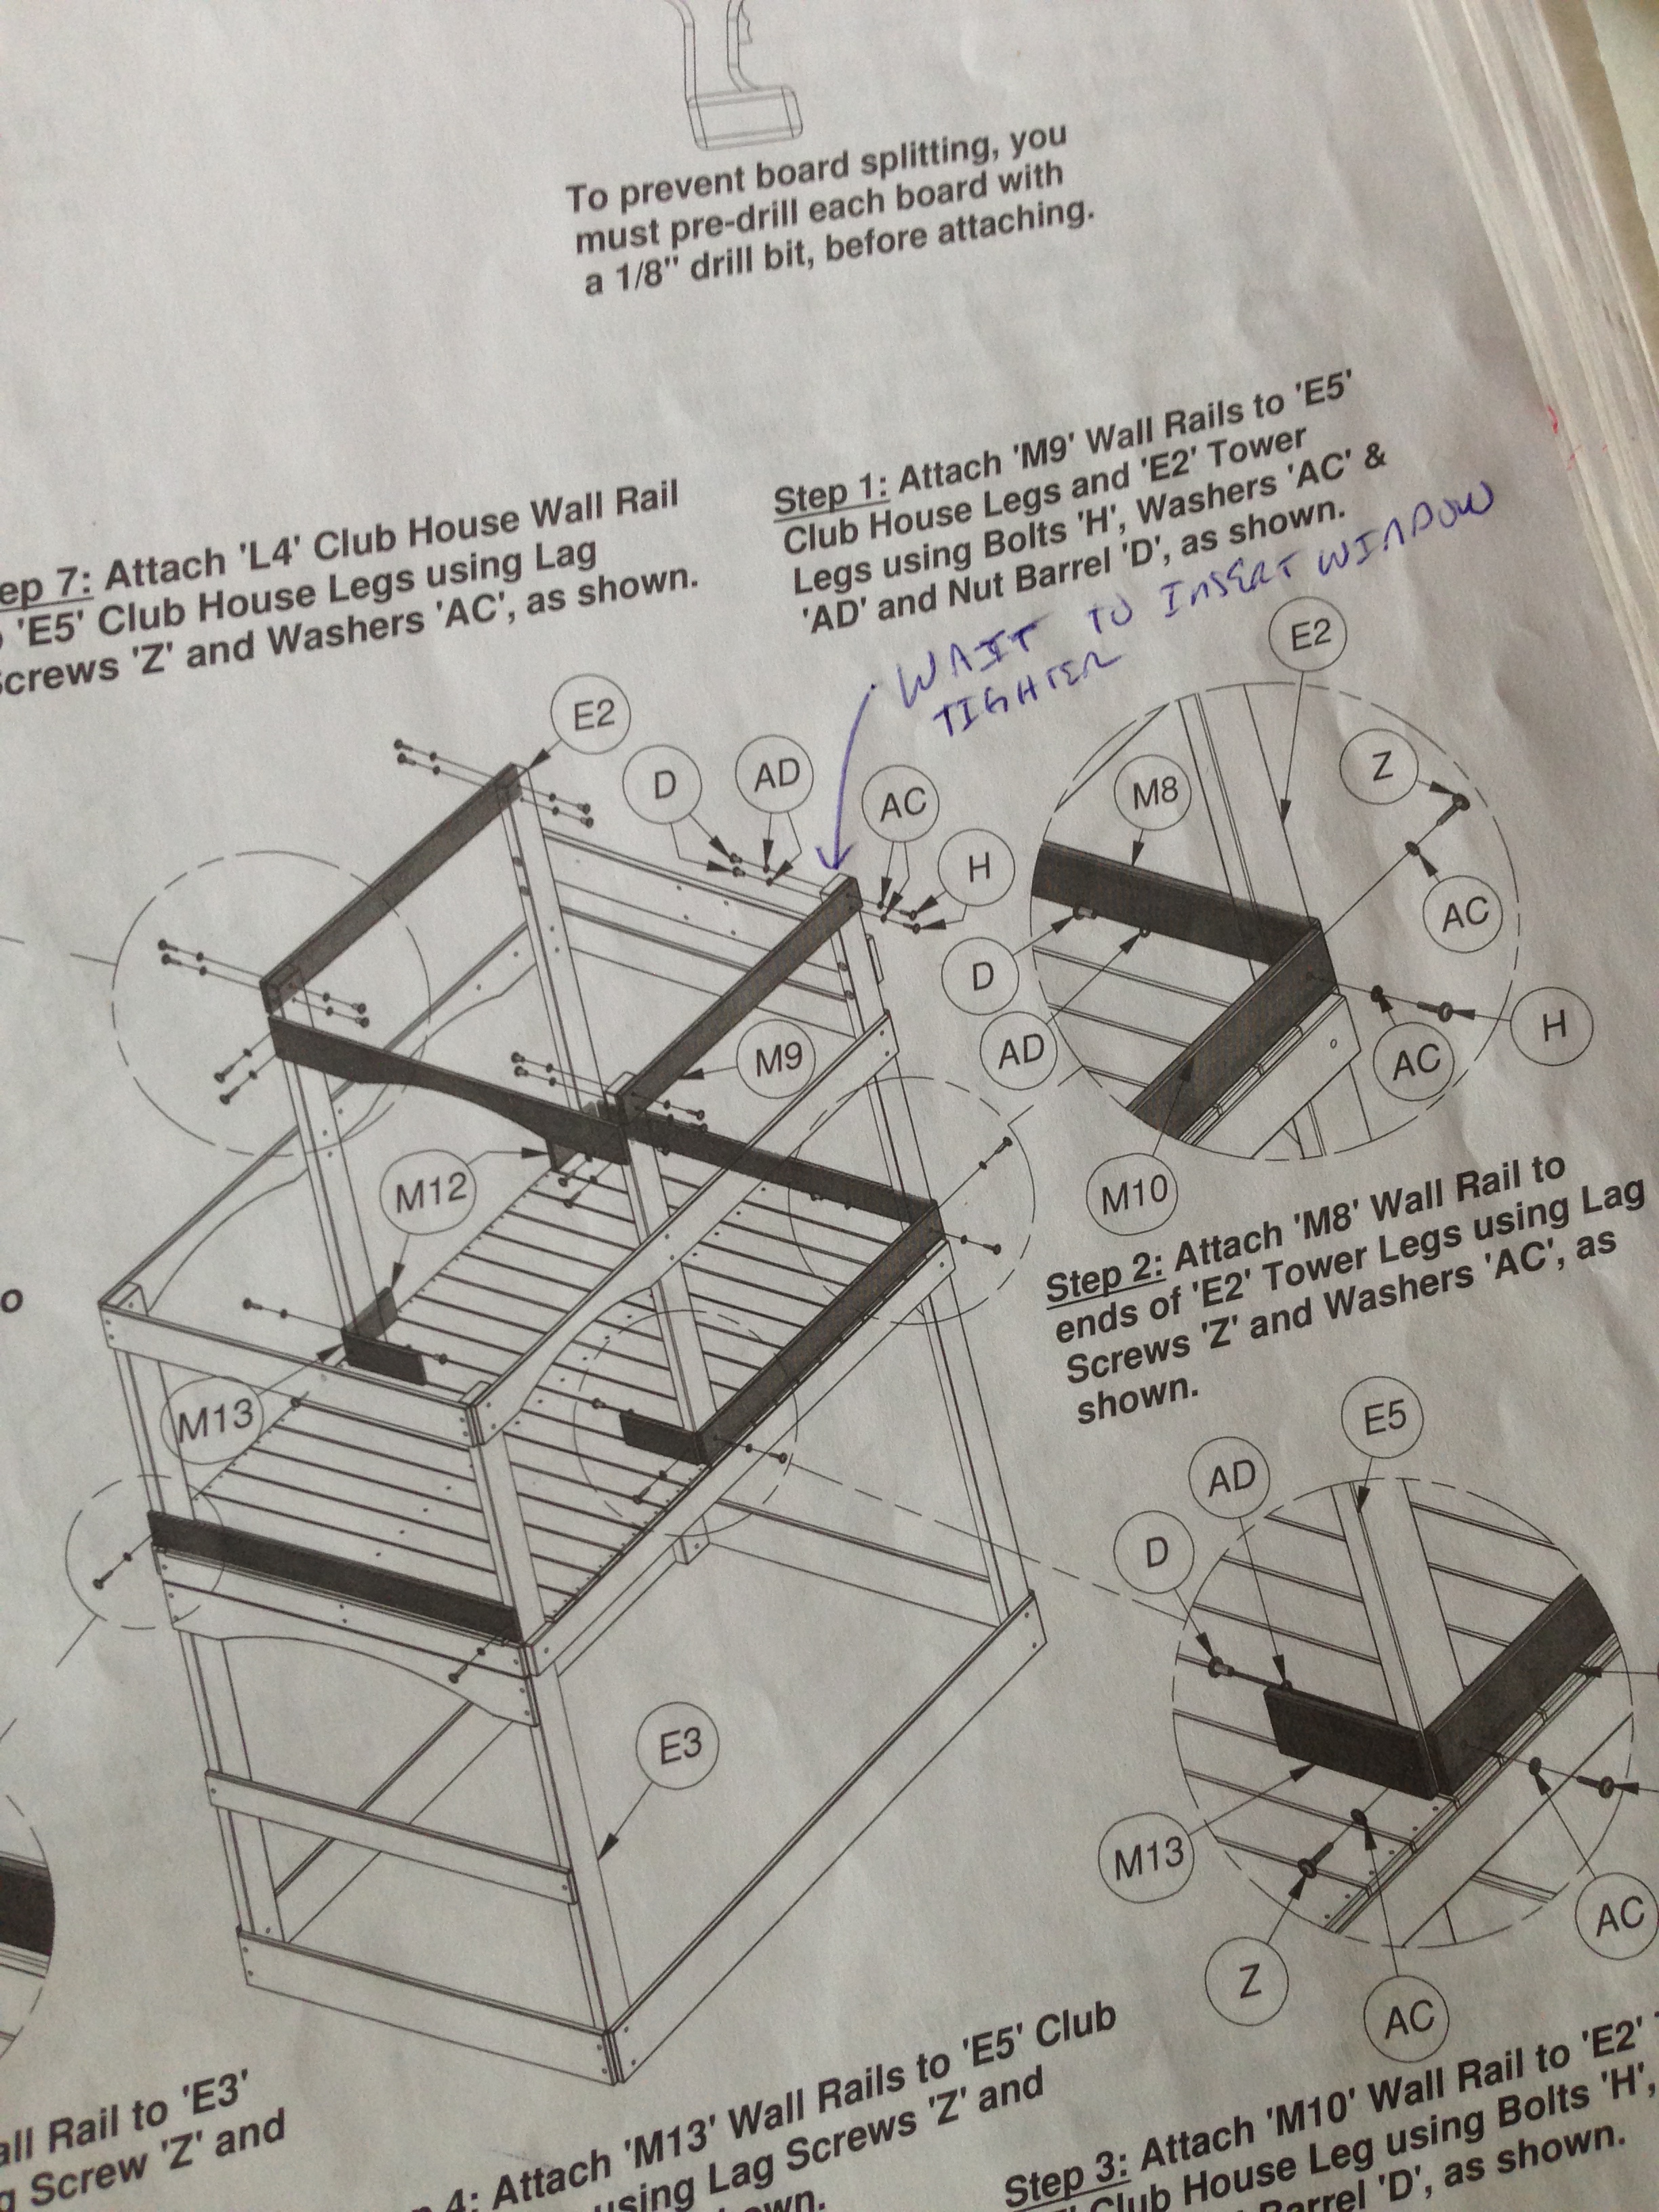
Specifically for my build, those potential pitfall components were the extruding window, and the roof. I built the window and did a good enough job that it just barely fit in its place when it was time to add it to the greater assembly. I really got lucky. Had I been even more astute than I was in my pre-reading, I would have looked ahead to the step where the window assembly was inserted and evaluated if there was a board (which there was) that I could have left loose and tightened after the window was inserted. Even if it hadn't fit, it wouldn't have been too big of a deal to loosen the upper board, insert the window, then tighten the board back down (except that the screws dig into the wood to lock into place, so loosening and re-tightening takes a little toll on the longevity).

The roof however, was a very different story. I knew it was going to be an issue, but at the time of pre-reading didn’t really know what I was going to do. I didn’t have the foresight to look at which boards it would ultimately attach to (written in on the picture) on the main assembly, and therefore test it against those empirical tolerances, as opposed to simply building it to the measurements in the instructions.
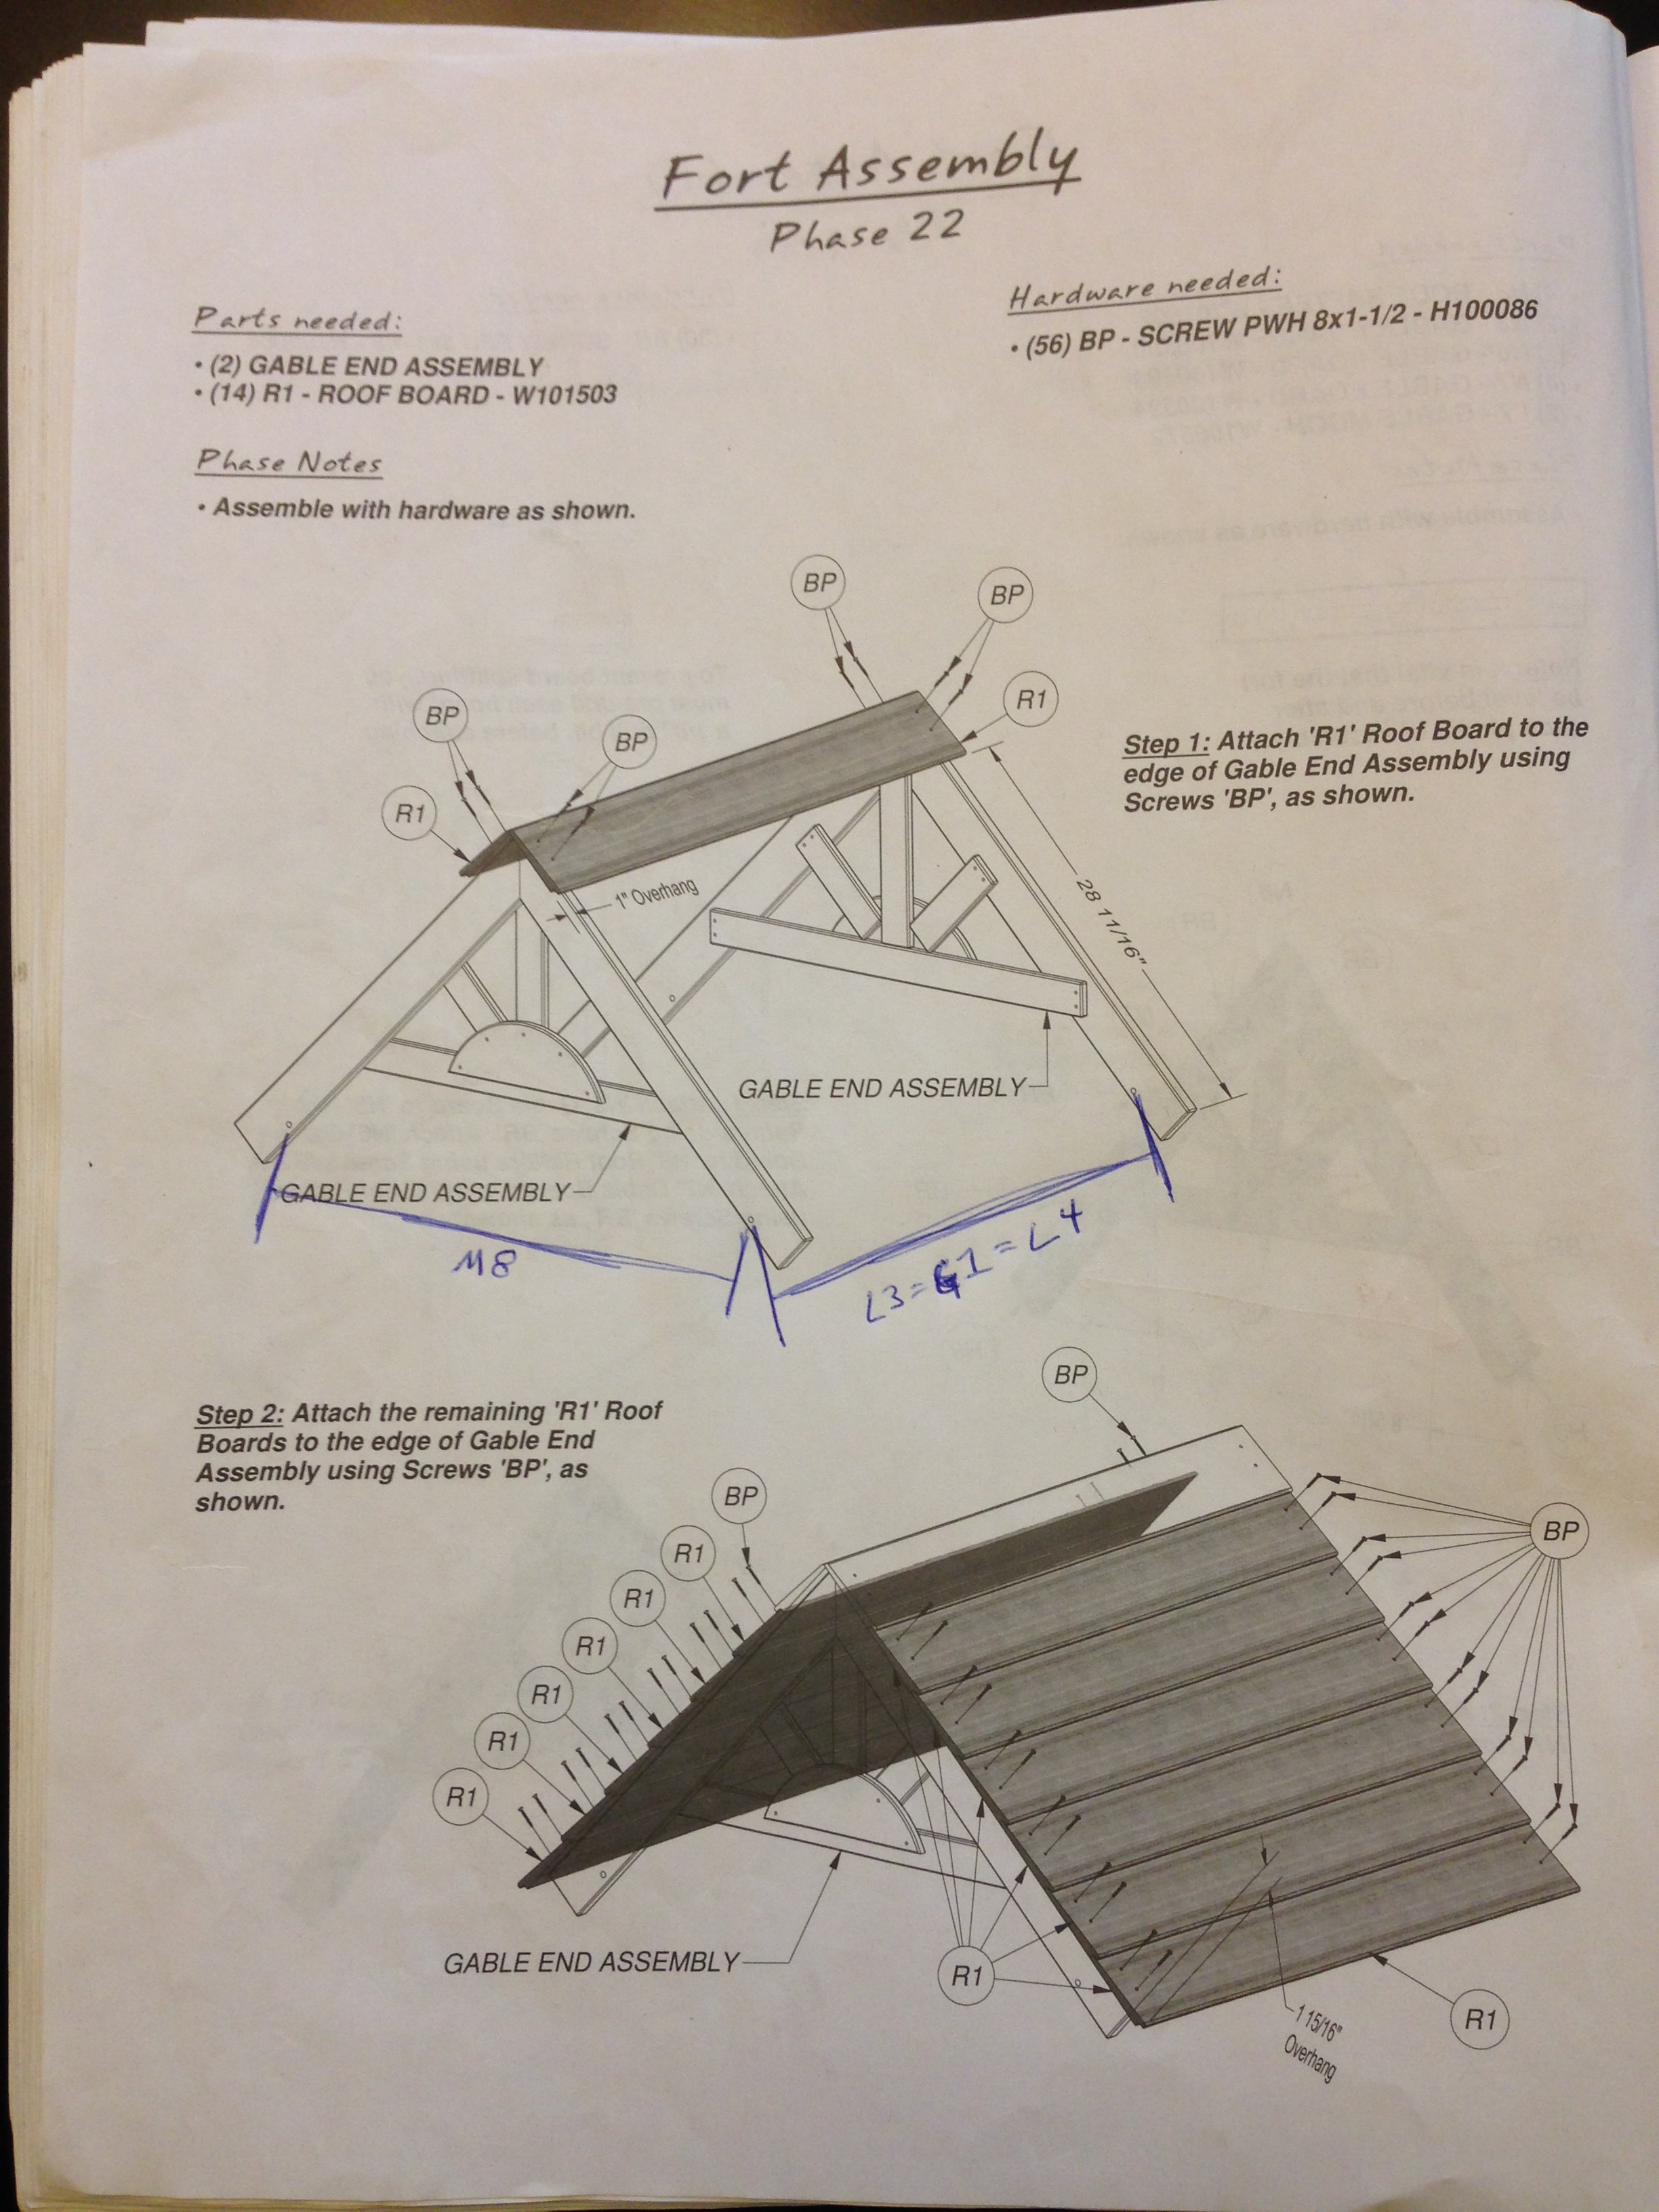
When it came time to actually build the roof, I got about half way through the assembly, before I realized that with each additional board screwed on, I was becoming far enough off of the build measurements that it would not fit well as a completed component bolted onto the final assembly. It would be incorrect in not just one, but two dimensions.
I ended up pulling it apart and building the roof on top of, and as part of, the final assembly so that it would fit exactly on top of the main assembly helping to increase the stability of the structure, as opposed to putting a sloppy hood on the unit that will slosh around and decrease the stability of the entire unit over time.
Other issues I avoided by pre-reading were that there were times that steps in the instructions seemed out of order. I made notes and when it came time to follow those instructions, was able to see if I needed to do them in a different order.
Example: <Support F1 on the frame>
Example: Door – do it last.
Gather Tools
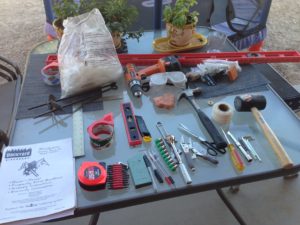 This step isn’t critical, but if you’re assembling in the backyard and your tools are in the garage, it will help save a bit of time to gather all the tools outlined in the instruction manual. Two things you’ll definitely want to have are a level and a cordless drill. It’s easier to try and line things up with your eye, but your sight can be deceiving so force yourself to use a level.
I used to be annoyed with using a level because of the extra time it takes to go get it and actually use it, but after using one for a couple projects now, I have finally proven to myself that its faster in the long run (not having to redo something because it is out of whack) and it is more accurate than just using your eyes.
Finally, a cordless drill, preferably with 2 batteries (one can charge while using the other) is virtually a requirement. I can’t imagine screwing in the hundreds of screws without using a power tool; it would be absolutely miserable and take forever. With a power tool (using a Phillips head, Socket Driver, etc) you’ll zip all the screws right in.
Assemble
Finally, after all the preparation above, it’s time to begin the assembly. Personally, though I wanted to get the project done quickly, I gave myself lots of time. I consider myself moderately handy. Thus, not being highly skilled and experienced, I felt that if I tried to put the whole swing set together in one day, I would make too many mistakes.
Putting time in between each component build also allows you to reset your mind and therefore your frustration tolerance. I felt I’d be less likely to get to the point where I’d either give up or just start haphazardly slapping the parts together if I completed one component each evening.
Thus, I started assembling one component at a time each evening after work.
I would put the pieces in order, matching the instruction diagram
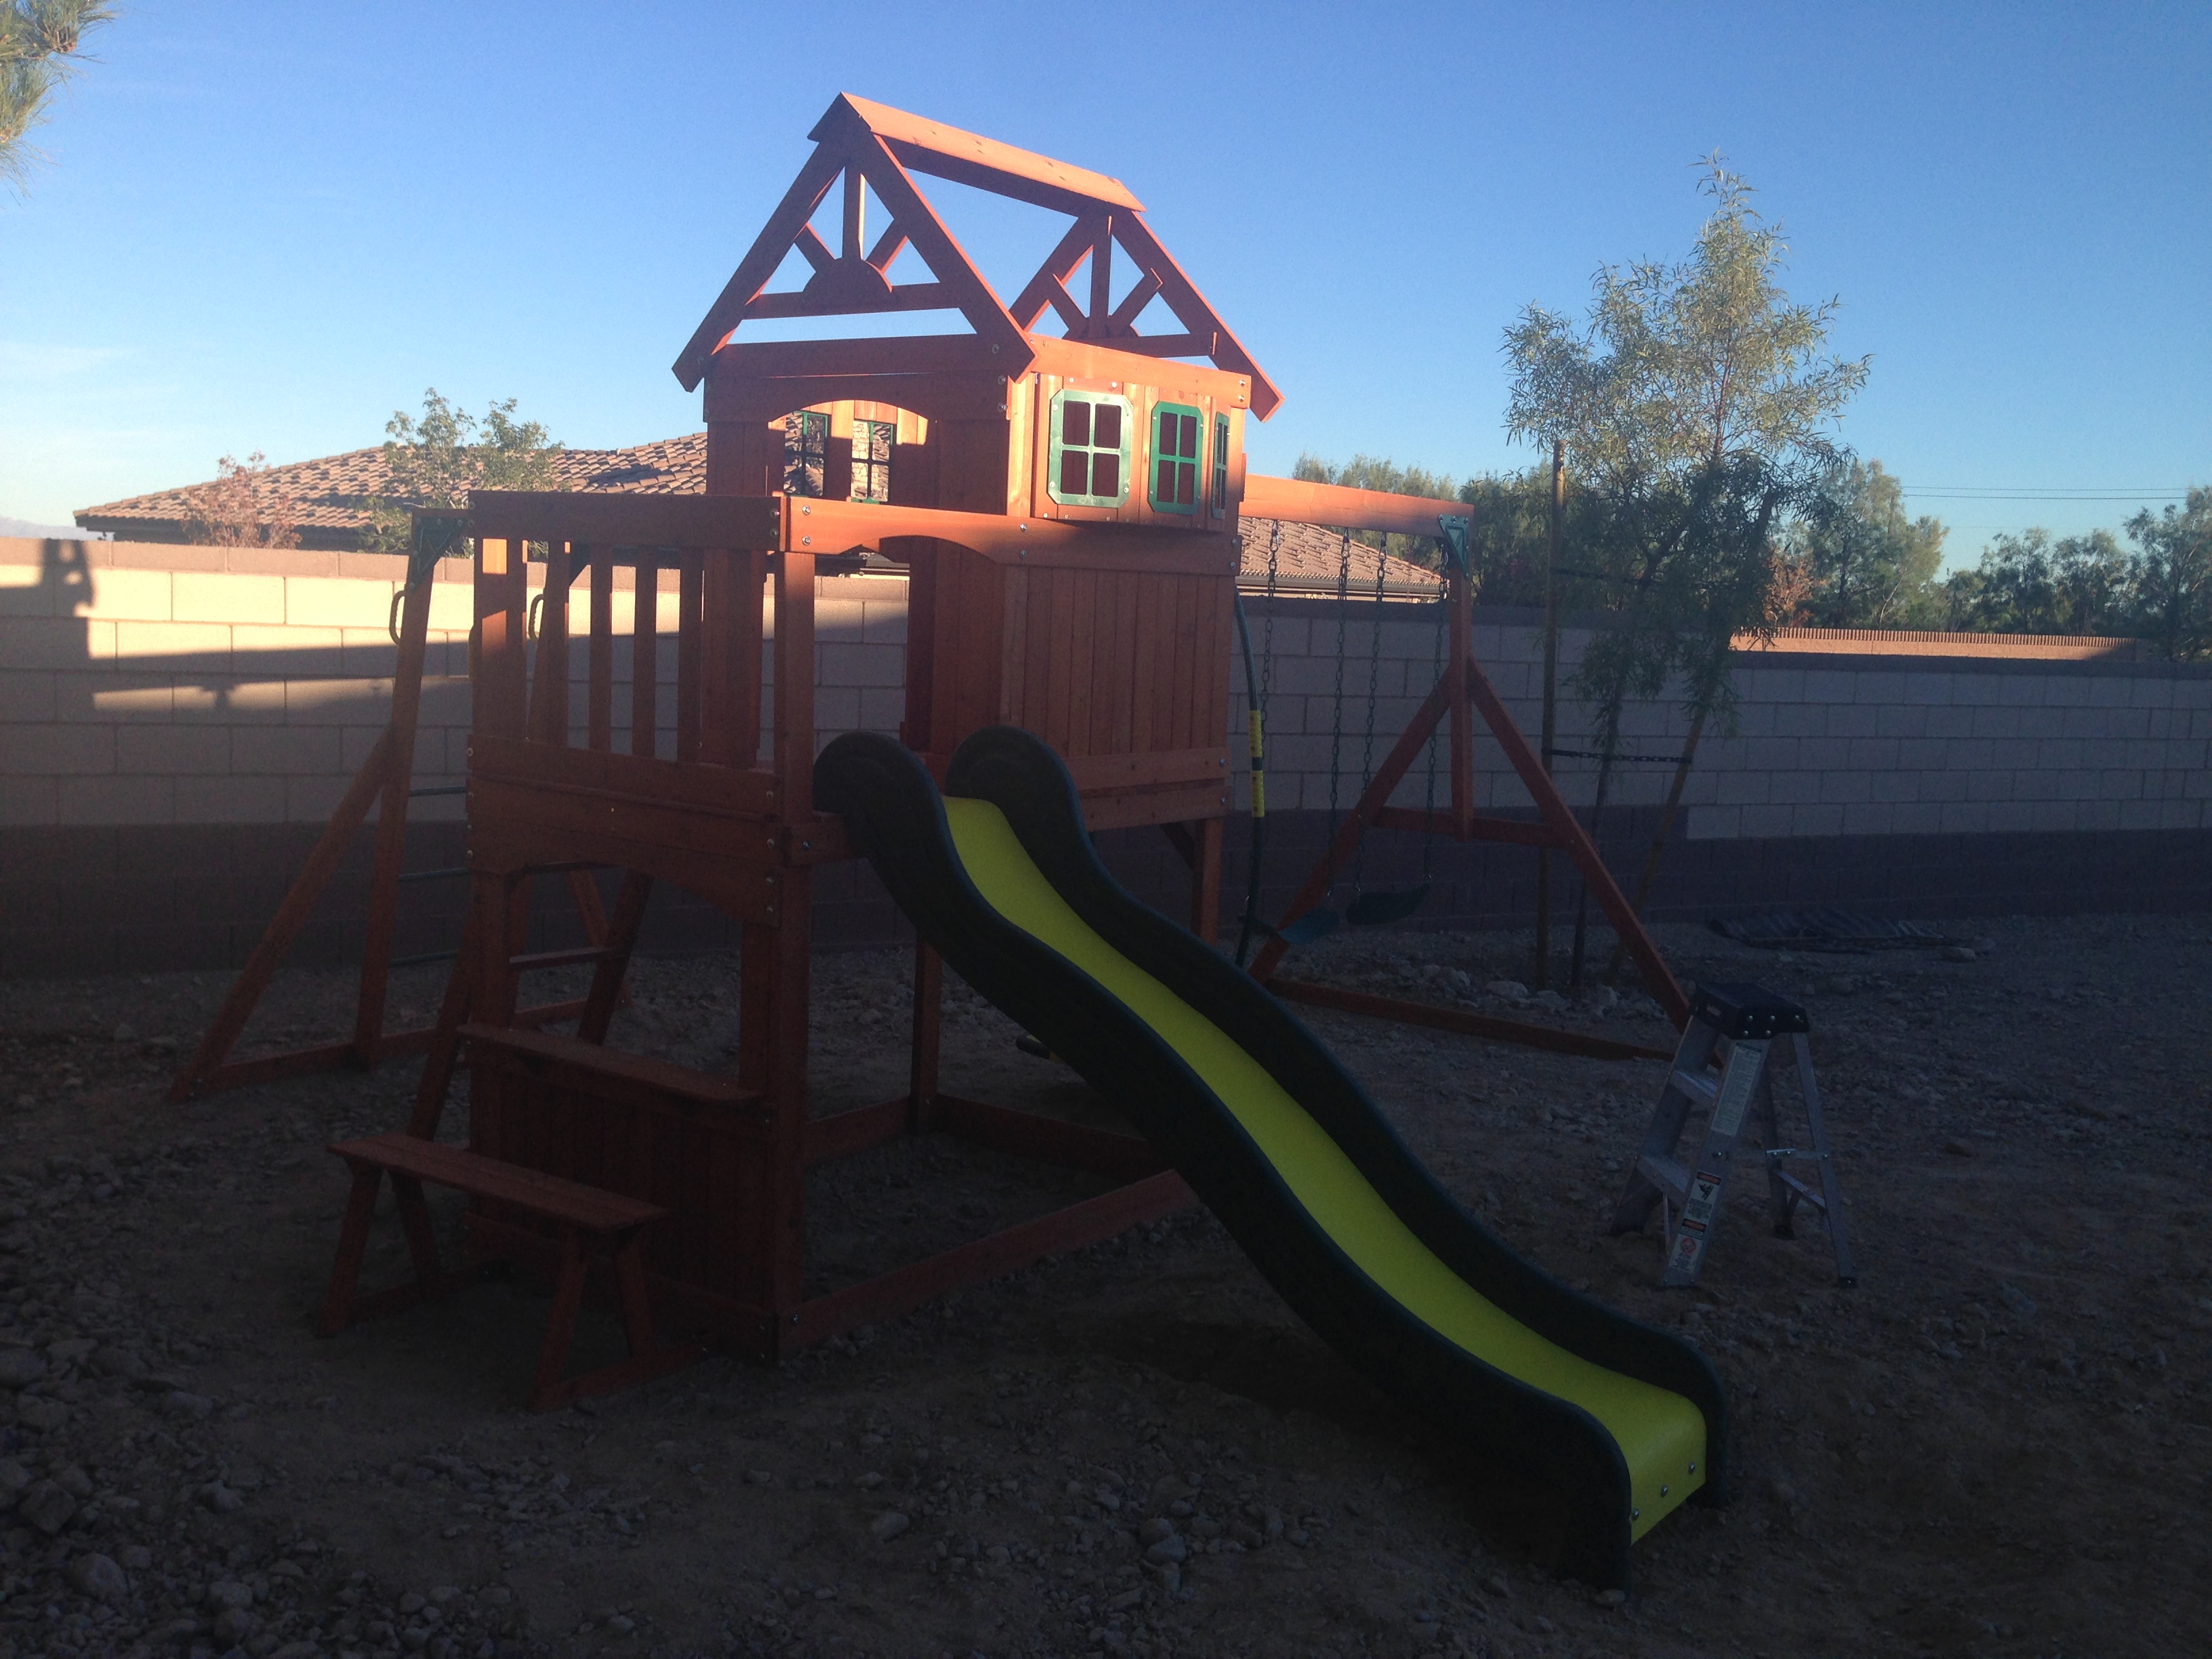
It took me a couple weeks to complete the entire assembly and I virtually assembled the entire swing set by myself. Doing one component a day, gave me time in between builds to reassess my skills and evaluate if I could have been more accurate or efficient in the way I was building each component. This allowed me to increase my skill level with each component, such that I was much more proficient in assembling towards the end with the more complicated components than in the beginning.
This is how I chose to handle my assembly process. This may not be the right way for you. If you take nothing else from any of my writing simply take structure (planning, organization, etc) is the key to assembling your swing set such that it will look correct, be safe, and last the longest it possibly can last.
This article is part of a series of articles on my experience purchasing and building a swingset from Walmart.com.
PLEASE NOTE: This article is not fully complete. Additional edits, clarifications, pictures, etc still need to be added as I'm able to find time.
Leave a Reply
Recent Posts

Reolink Argus 2 Review: From an Owners Perspective

I Made the World a Little Safer!
A Typical Parenting Moment from the Parent of a Child with FASD

Volunteering
We Were Sent Home From the Hospital with Instructions that Could Have Killed Our Son

After School Programs: Your Child May Not Be As Safe As You Think

FAS - You Wouldn't Say That About My Child If It Was Autism
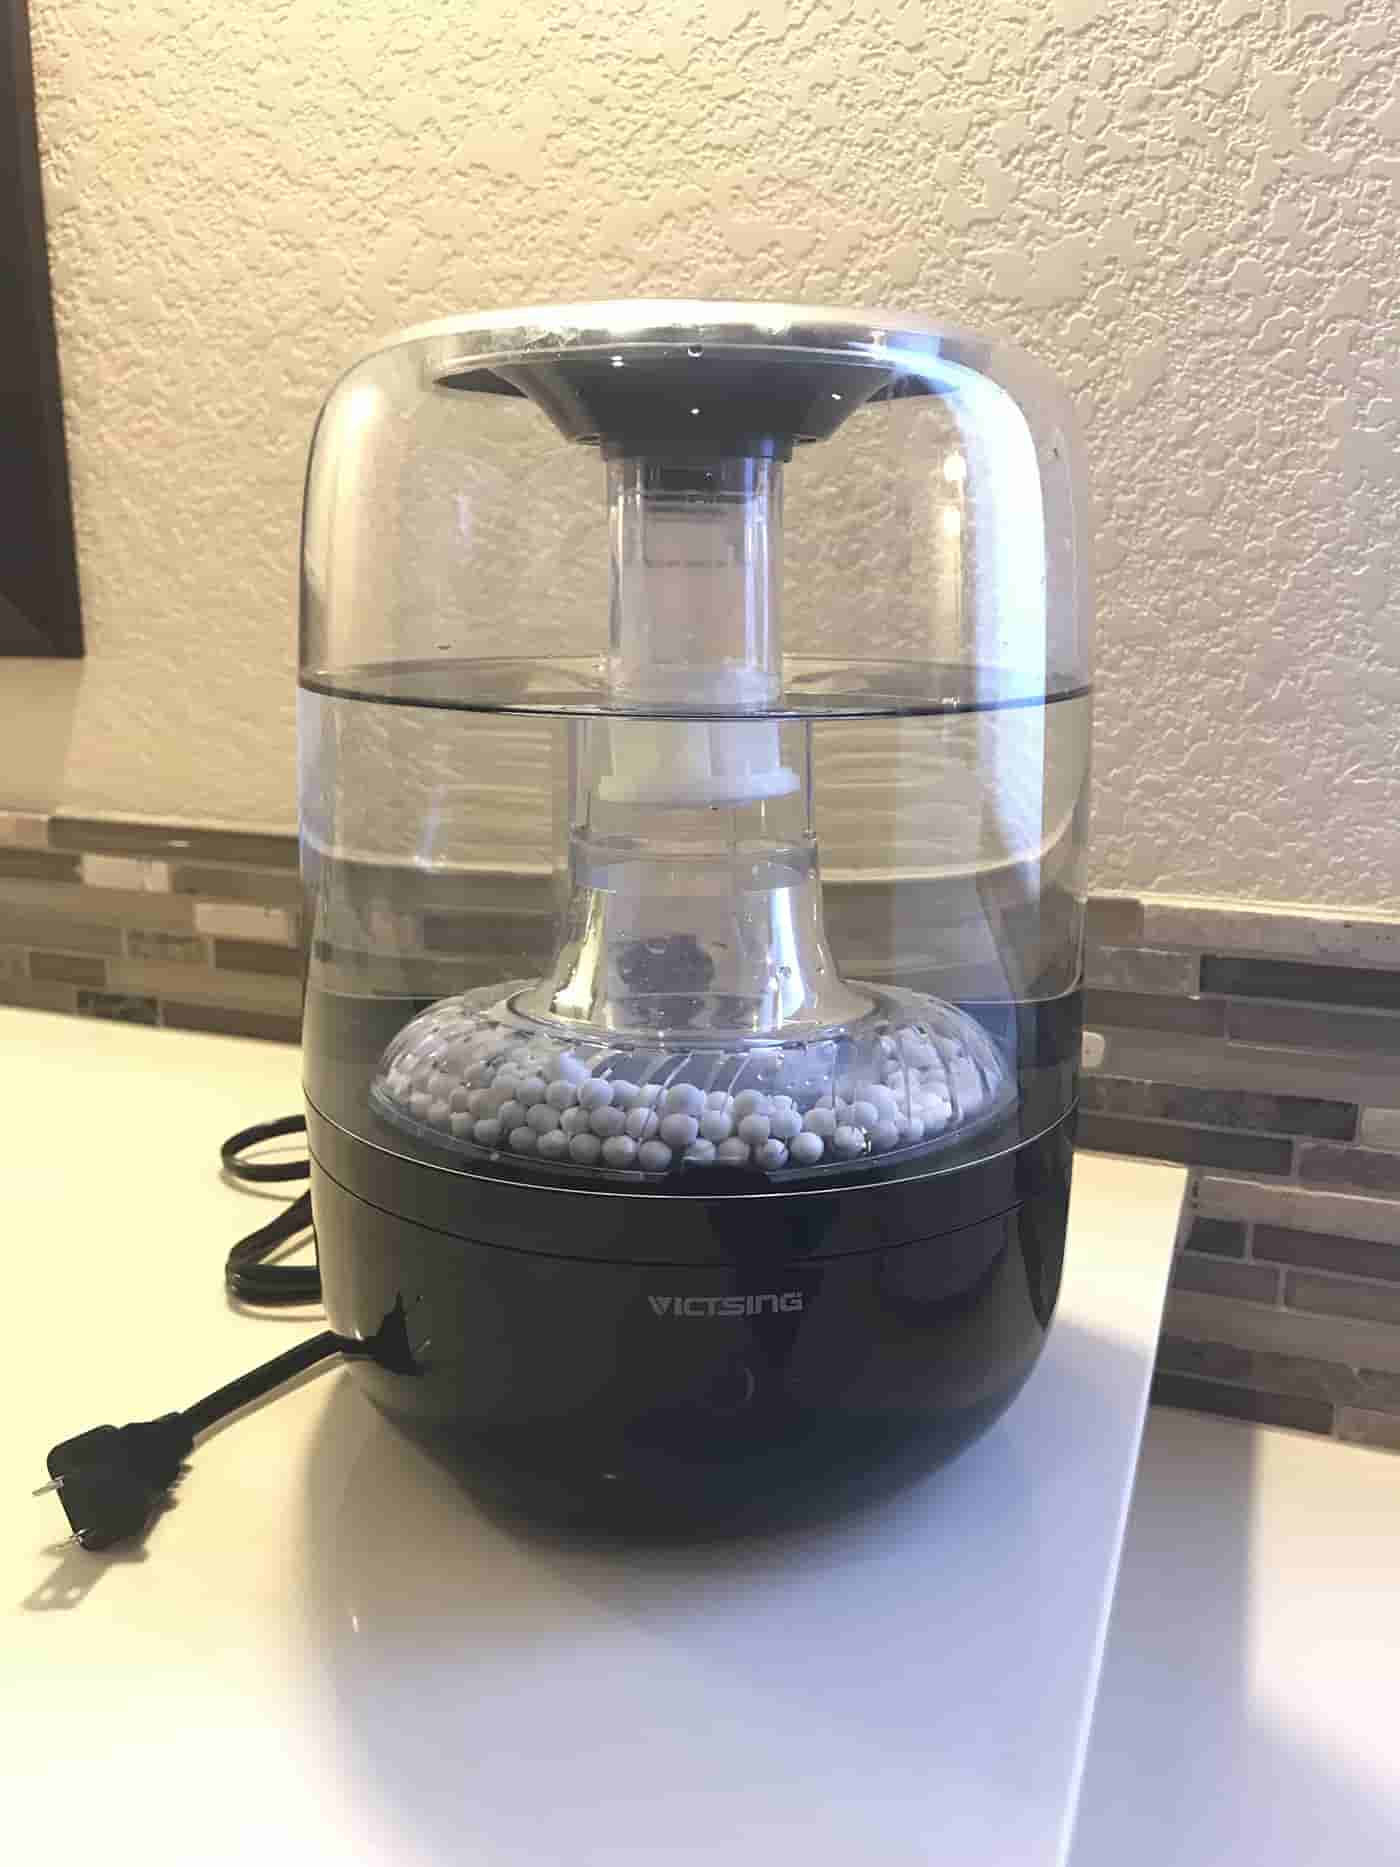
VicTsing Filterless Cool-Vapor Humidifier Review
Increasing the Life of Your Air Conditioner: How to Install a 'Hard Start' Kit

A/C Hard Start Kit: A $1,600 Per Hour Story